Pages

Pages

Monday, July 31, 2023

Spellbinders and Mama Elephant Fun Shaped Scene Card with Extras Inside

Hello there! This is Amanda from Twiddler's Nook and I'm happy to be on the Doodlebugs blog today sharing a sweet camping scene card on a fun shaped card. Plus, I'm horrible at this usually, but I extended my sentiment and, sort of, my scene to the inside too. I think it turned out really fun and am excited to hear what you think.

Mama Elephant Around the Campfire and Spellbinders Modern Ovals

This card is extra fun with its different shape and that's easy to do with any large shape dies you may have.


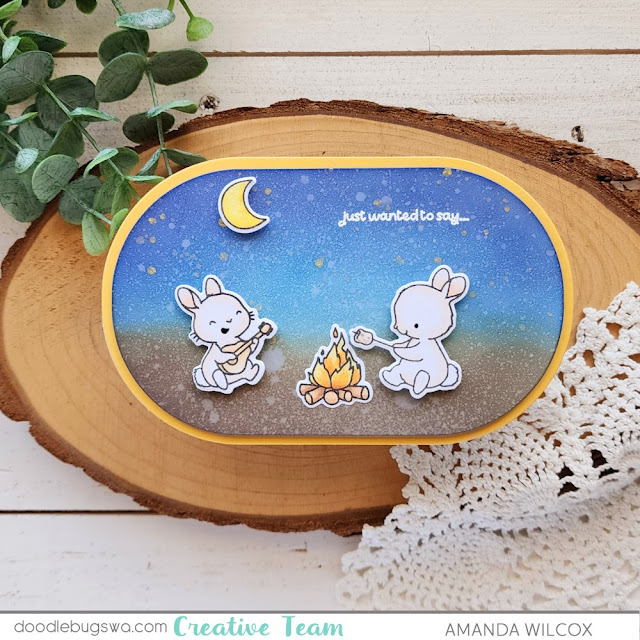
I cut the largest Essential Modern Oval from Spellbinders from white and yellow cardstocks. I placed the white one in my scoring board and scored it about 1/4" away from the top edge. Then I added tear tape to that flap. This will be the back part of our card and hides the hinge on the back so it doesn't interrupt your scene on the front.

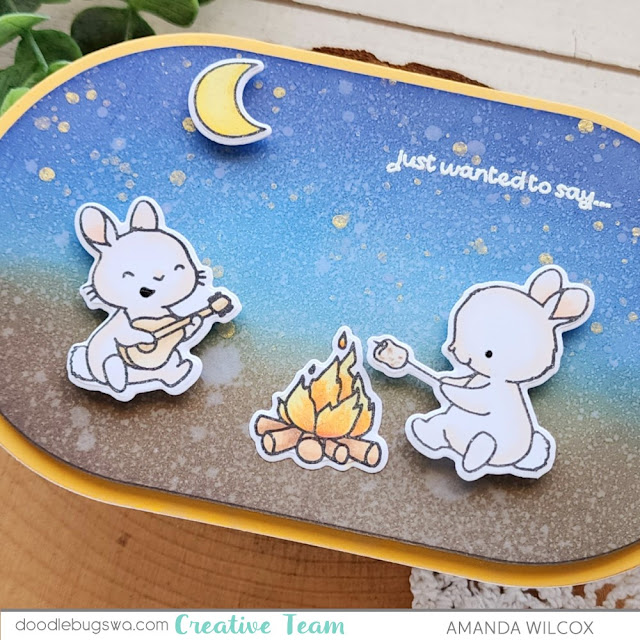
Then I cut the next smallest oval from blue cardstock and inked the top edge with chipped sapphire distress oxide ink and the bottom part with ground espresso. Then I spritzed it with my distress sprayer and blotted it dry. I also flicked gold watercolor on the top portion for some stars in the sky.


I chose a few sweet images to stamp, color and die cut from Mama Elephant's Around the Campfire. I love how these images mix and match for different camping scenes. Once these were ready to go, I arranged them on my oval to find the best spot to stamp and heat emboss the first part of my sentiment, which comes from Mama Elephant So Appreciated.

Mama Elephant Around the Campfire and Spellbinders Modern Ovals

Now we can assemble everything. I popped the scene panel up on the yellow panel with foam tape, then also popped up the moon and bunnies while the campfire is attached with liquid glue. Then, I removed the release paper and attached the back part of my card base. After it was attached I used a bone folder to really burnish the adhesive strip and also reinforce the fold so the card opens nicely.

Mama Elephant Around the Campfire and Spellbinders Modern Ovals

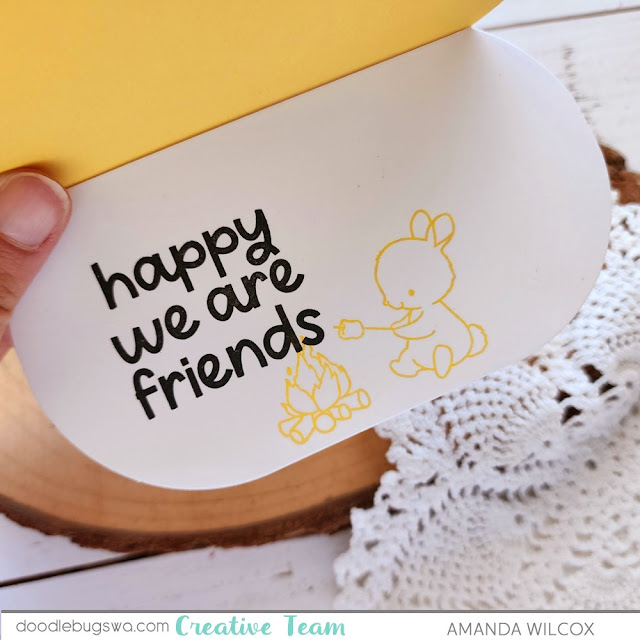
Next, I placed my open card in my MISTI and stamped the second part of my sentiment on the left side in black ink. After that I chose a couple of images from the front to stamp in light yellow ink. It gives a little something cute but if your writing goes over it, it's still visible.

Mama Elephant Around the Campfire and Spellbinders Modern Ovals

There was so much visual texture on the background panel that I just used an iridescent glitter pen on the flames and moon, along with black glaze pen on the bunny's eye and the other bunny's open mouth.

Do you stamp on the inside of your cards? Have you ever tried making a shaped card from your large dies? Share in the comments below!

I appreciate you sharing your time with me. Have a fabulous day! 
 
Links to products used or recommended are listed below: 

Friday, July 28, 2023

A Card for Dad ...the Guy with the Most Tools

Doesn't every girl think her dad is the greatest?  I recently needed a card for my dad and the All the Tools set from Spellbinders was perfect!  Those who know my dad, know he has ALL THE TOOLS and usually multiples of each.   So a few paper tools seemed appropriate.

Spellbinders All the Tools and #1 Dad from Waffle Flower

I cut and assembled all the tools using some silver, black and yellow cardstock.  That fun sentiment is from the #1 Dad stamp set from Waffle Flower.  It's a great set for any dad occasion.  I stamped it onto a piece I cut with the Modern Oval die set from Spellbinders.  It's a new favorite of mine.

Spellbinders All the Tools and #1 Dad from Waffle Flower

I added all the tools to some white cardstock cut with the Blanket Stitched Rectangle from Pinkfresh Studio and then added it to some black cardstock.  

My dad loved it!

Thanks for stopping by!

Cathy

Links to products used or recommended are listed below:

Thursday, July 27, 2023

Pinkfresh Studio Beautiful Blooms Watercolored

I recently created a few cards as a gift for my sister-in-law.  She's such a giving and kind human and I wanted to thank her for all that she does.  So, a set of cards seemed like the perfect gift.

I still had a few watercolor images from the Beautiful Blooms stamp and die set.  I had created these for another project and as usual, made more than I needed.  These "extras" make it easy to create when I don't have much time.

Beautiful Blooms and Braided Oval from Pinkfresh Studio
I hot foiled a few sentiments with the Making Me Smile hot foil set from Spellbinders.  I foiled a set in gold and a set in silver.  They made the perfect accent for  these cards.
 
Beautiful Blooms and Braided Oval from Pinkfresh Studio

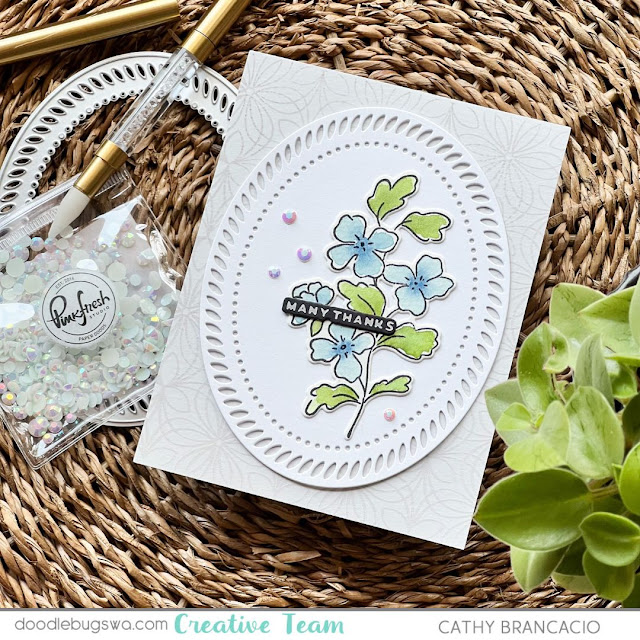
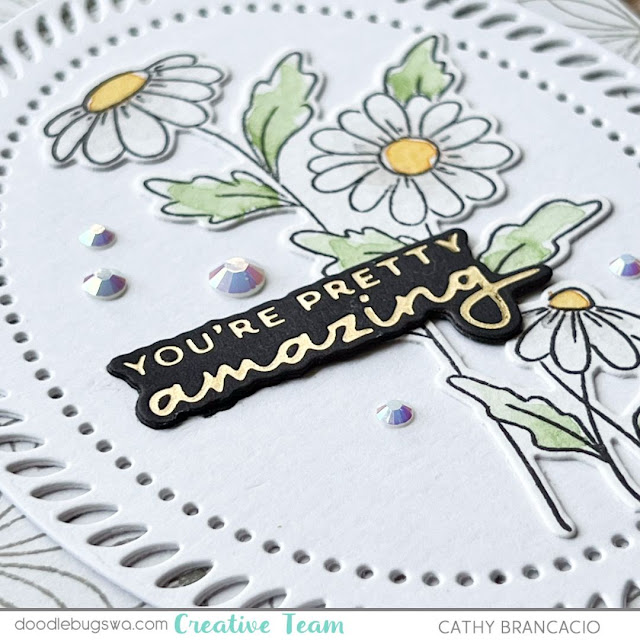
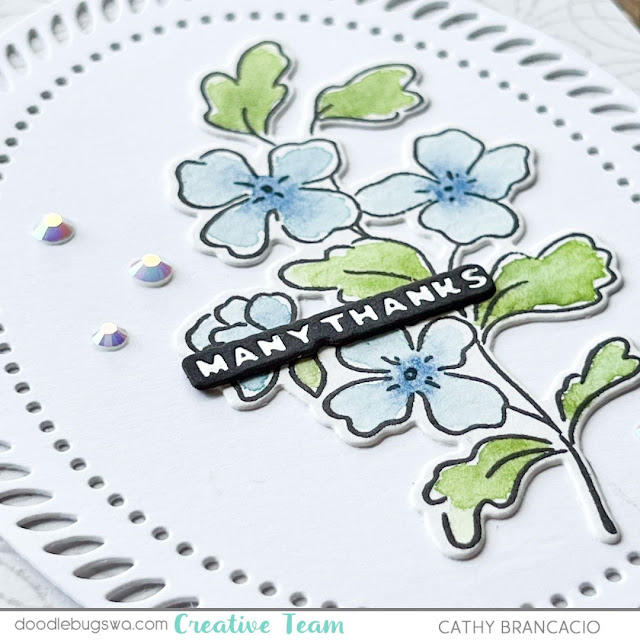
I assembled the flowers and sentiments onto an oval I cut from the Pinkfresh Studio Braided Oval die set.  After stamping the front of my folded note card with the Geometric Botany background stamp from Altenew, I finished assembling my card.

Beautiful Blooms and Braided Oval from Pinkfresh Studio

 A few jewels for the finishing touch.

Beautiful Blooms and Braided Oval from Pinkfresh Studio

Thanks so much for stopping by.  I hope you were inspired to get creative.

Cathy

Links to products used or recommended are listed below:

Tuesday, July 25, 2023

Get Well Soon

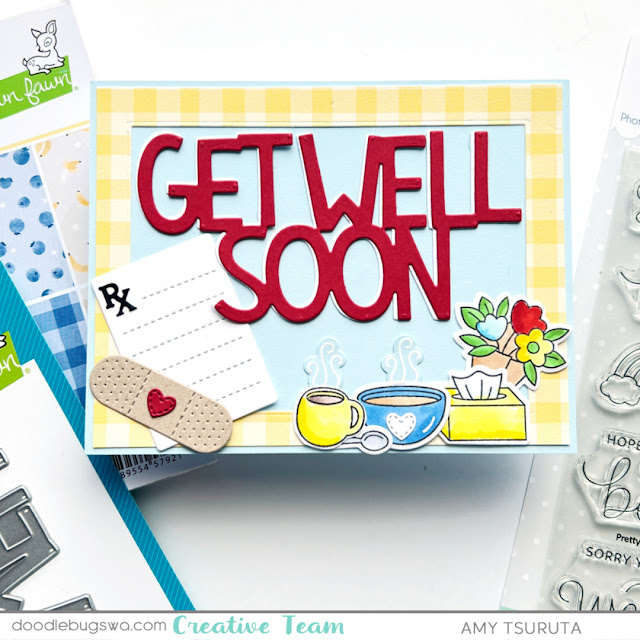
What are some go to theme cards that you like to have in your stash? I recently received an order for Get Well Cards.  Here is one of the designs I created:

Pretty Pink Posh Get Well Soon and Lawn Fawn Giant Get Well Soon

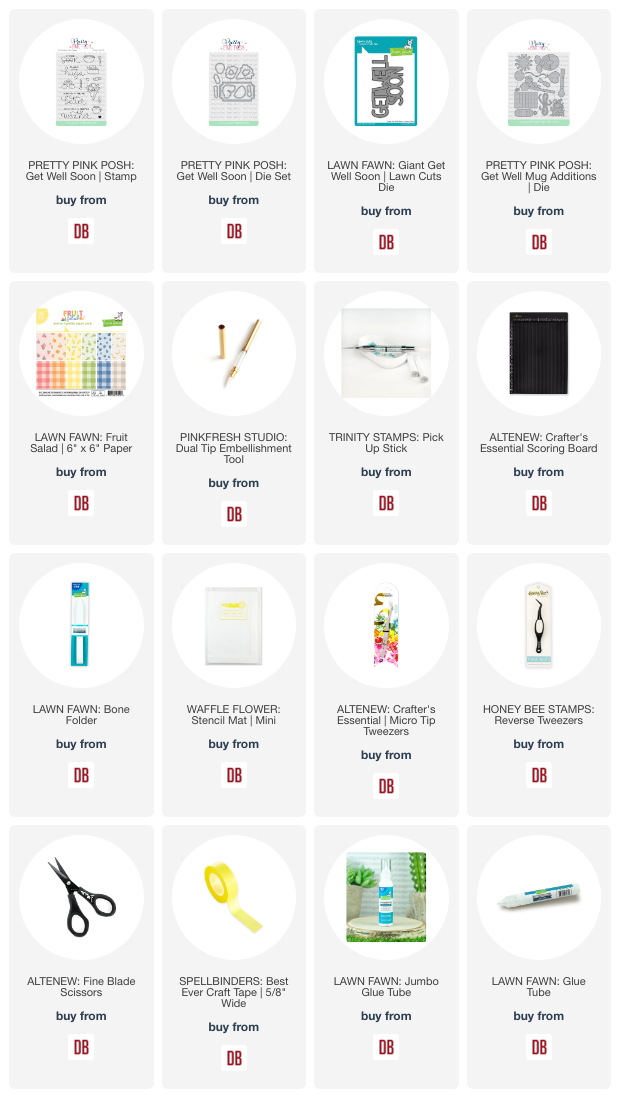
This combines the following products:
  • Pretty Pink Posh - Get Well Soon | stamps + dies
  • Pretty Pink Posh - Get Well Mug Additions | dies
  • Lawn Fawn _ Giant Get Well Soon | dies
  • Lawn Fawn - Fruit Salad | 6x6
Pretty Pink Posh Get Well Soon and Lawn Fawn Giant Get Well Soon

I went with a cheery color palette.  The stamped images have been copic colored:

  • R08 | R37
  • Y02 | Y08
  • YG07 | YG17
  • B34 | B37
  • BG000 | BG10 | B14
  • E70 | E74
  • E31 | E55
  • C1 | C3
Pretty Pink Posh Get Well Soon and Lawn Fawn Giant Get Well Soon

Here's to a fantastic week!

Links to products used or recommended are listed below:

Monday, July 24, 2023

Hip Hip Hooray Hot Foiling with Spellbinders and Mama Elephant

Welcome, welcome friends! I'm so glad you stopped by today. I'm over on the Doodlebugs blog sharing a fun celebratory card featuring goodies from Spellbinders and Mama Elephant.

Today's creation could very well be a birthday card but it's also generic enough to celebrate just about anything you feel like!

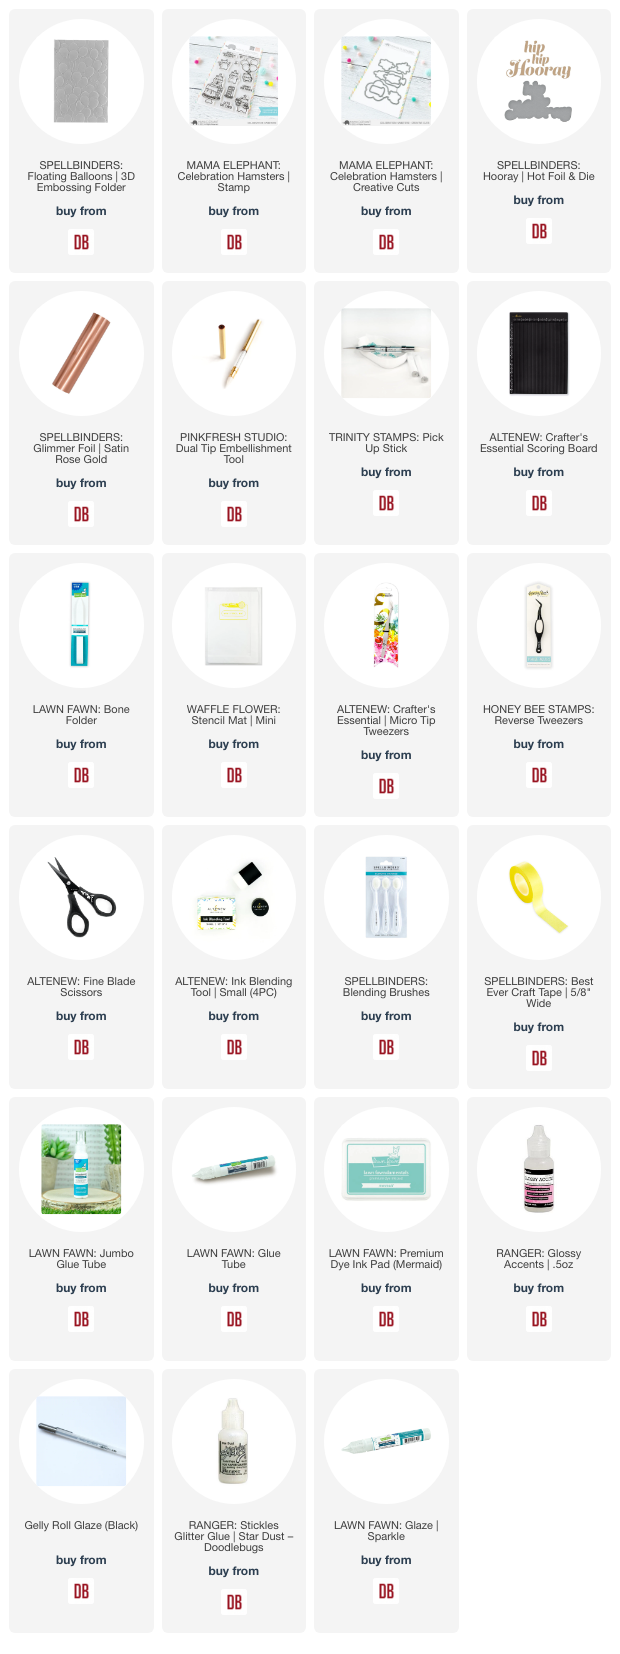
Mama Elephant Celebration Hamsters and Spellbinders Hooray Hot Foil

I started my card today by stamping and coloring the two images from Mama Elephant Celebration Hamsters with my copic markers. I used the coordinating dies to cut them out and set them aside.

Mama Elephant Celebration Hamsters and Spellbinders Hooray Hot Foil

Next, I heated up my Glimmer Hot Foil System and foiled the Hip Hip Hooray with rose gold hot foil. I thought it went perfectly with the pink in my balloons. I used the coordinating die to cut it out and set it with my images for now.

Mama Elephant Celebration Hamsters and Spellbinders Hooray Hot Foil

Next, I embossed a 4x5.25 inch piece of white cardstock with the Spellbinders Balloons 3D embossing folder. Then I used a blending brush to add some teal ink to bring them to life. I added foam tape to the back and popped it up on a white card base.

Mama Elephant Celebration Hamsters and Spellbinders Hooray Hot Foil

Then I added my sentiment and images with foam squares and started on finishing touches. For this little cutie, I added black glaze pen to his eyes, glossy accents to his nose and a little stardust Stickles to the sparklers.

Mama Elephant Celebration Hamsters and Spellbinders Hooray Hot Foil

Last, for this sweetheart floating in the sky I added black glaze pen to his eyes too and glossy accents to his nose and ALL of those balloons. It might be a little extra, but I'm so okay with it! It's really fun and shines so pretty in the light.

These kind of cards are invaluable in my stash because sometimes you can't plan the type of celebration you need a card for and it's not always a birthday! Am I right!?!
 
I appreciate you sharing your time with me. Have a fabulous day!

Links to products used or recommended are listed below:

Friday, July 21, 2023

Celebrating with the Birthday Mug Additions Die from Pretty Pink Posh

Today I'm sharing another card I created with the Birthday Mug Additions die.  This die is a wonderful addition to the Winter Mug die, but it's also very much a stand alone die.  I love using all the cute images for creating fun birthday cards.

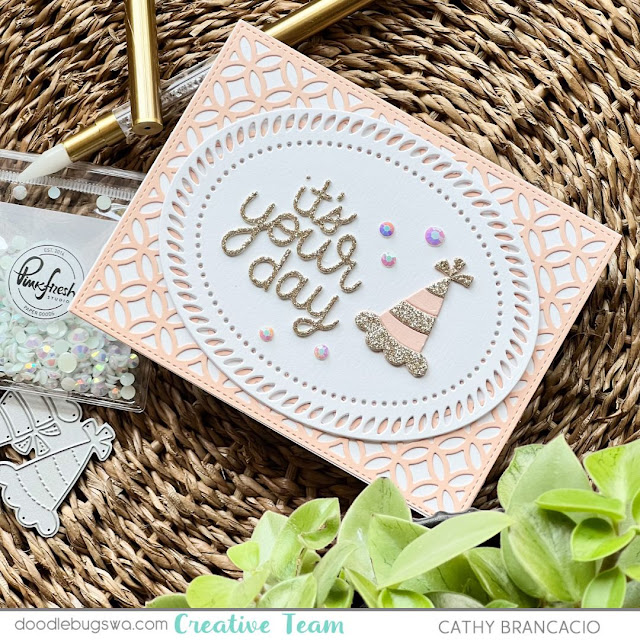
 Pretty Pink Posh Birthday Mug Additions die and Pink Fresh Studio Braided Ovals
I chose a soft apricot cardstock with gold glitter cardstock for this card.  It's a bit of a departure from my usual color choices, but I like it.  I cut all pieces for the party hat and sentiment.  As usual, I cut more than one piece so I could stack them up for some dimension.
 
Pretty Pink Posh Birthday Mug Additions die and Pink Fresh Studio Braided Ovals
The final assembly was quick.  I used the Fancy Lattice die from Lawn Fawn for the background and the white oval is from the Braided Oval die from Pinkfresh Studio.  I layered them on top of my folded card base and added the sentiment and party hat.

Pretty Pink Posh Birthday Mug Additions die and Pink Fresh Studio Braided Ovals

Some bling for the final touches and it's ready for the mail.

Thanks so much for stopping by!  Hope you're inspired to get creative.

Cathy

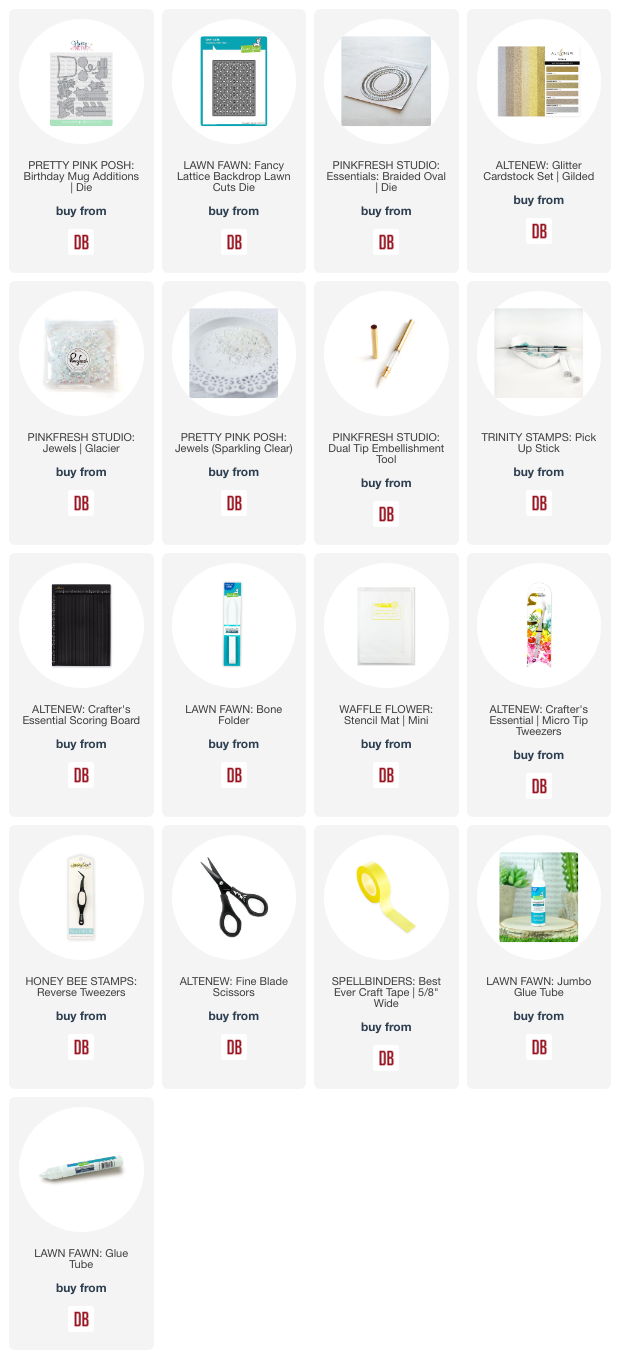
Links to products used or recommended are listed below:

Thursday, July 20, 2023

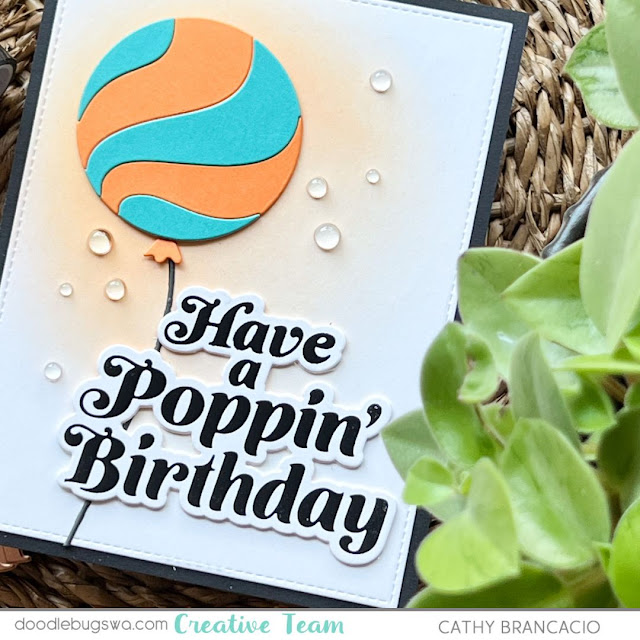
Have a Poppin' Birthday with Spellbinders Dies and Hot Foil Plates

I had so much fun creating this card!  These balloons are so fun to create and depending on the color you choose, can be a great personalized or masculine card.  I often find it hard to create a card the guys.  

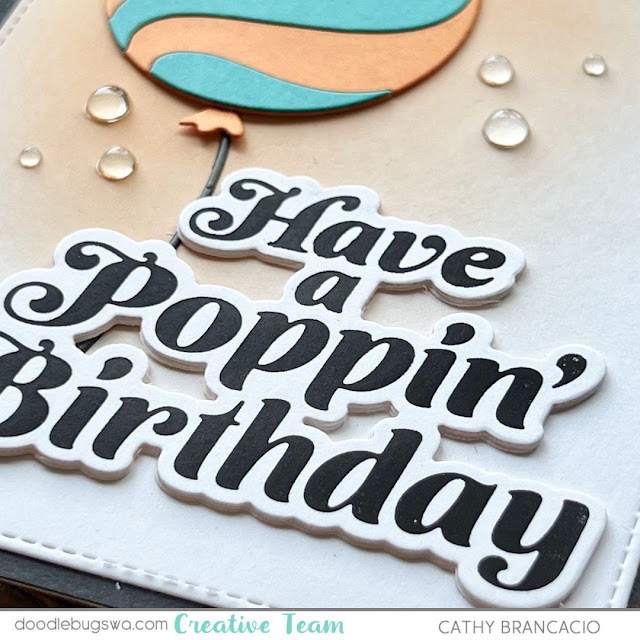
For this card, I die cut and assembled a few balloons (I always make more than one card) from the Color Block Balloons die set from Spellbinders.

Spellbinders Poppin Birthday and Color Block Balloons

For the sentiment I used the Poppin' Birthday hot foil plate from Spellbinders with the black hot foil and layered it on top of several additional die cuts.  I love adding dimension to my cards this way.

Spellbinders Poppin Birthday and Color Block Balloons

Before assembling the card, I blended some orange ink on the background.

Spellbinders Poppin Birthday and Color Block Balloons

I finished  the card with some Boiled Sugar Baubles from Trinity Stamps.

Thanks so much for stopping by.  I hope you enjoyed the card and were inspired to get creative.

Cathy

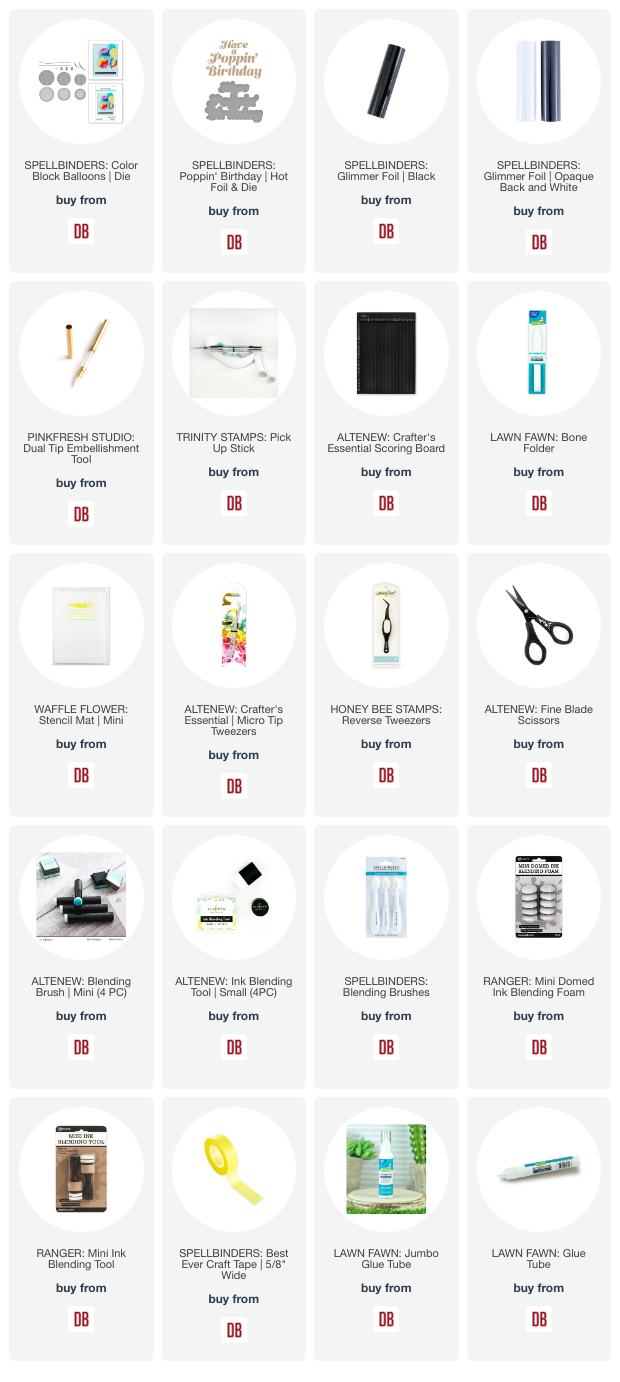
Links to products used or recommended are listed below:  

Tuesday, July 18, 2023

One in a Melon

If you've been following me for any length of time you know that fruit and coffee are a couple of my passions, both in real life and crafting.  With all the summer fruit sets out there I knew that I wanted to combine a couple, this is how I was inspired:

Lawn Fawn Build-a-Drink Cocktail

Here are the products I'm featuring:
  • Lawn Fawn - Build-A-Drink | Lawn Cuts
  • Lawn Fawn - Build-A-Drink Cocktail Add-On | Lawn Cuts
  • Mama Elephant - Hooray Streamers | Creative Cuts
  • Pretty Pink Posh - Watermelon | Stamps + Die Cuts
  • Pretty Pink Posh - Starburst | Stencil

The inks I used:
  • Concord & 9th - Sweet Pea
  • Distress Oxide - Shabby Shutters
  • Distress Oxide - Rustic Wilderness
The interior panel of the drinks is watercolor paper for ease of ink blending the distress oxides.


I'm absolutely smitten with this pink + green color combo.  


Links to products used or recommended are listed below:

Monday, July 17, 2023

Juice the Cutest with Fun Stenciled Background

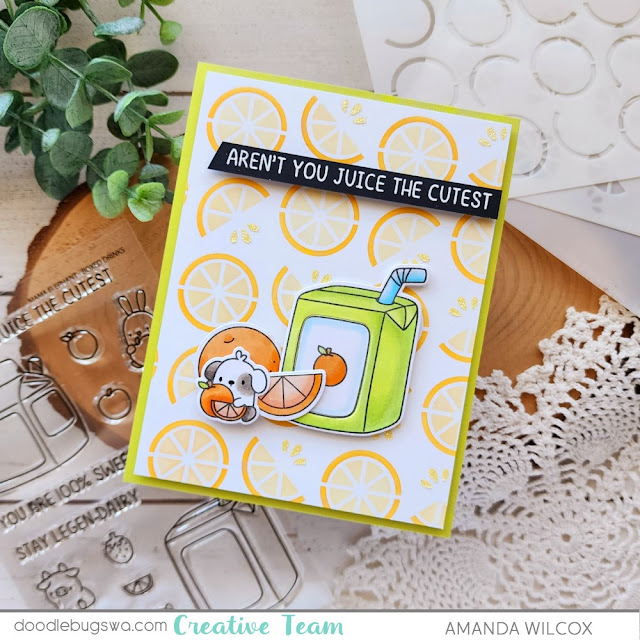
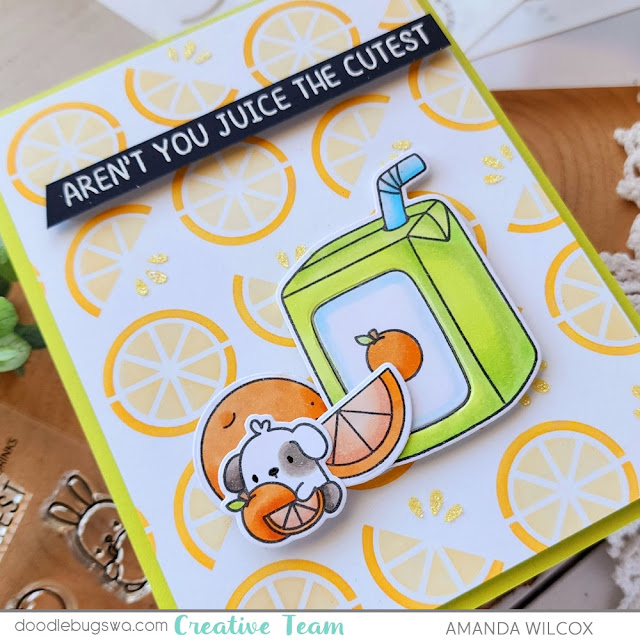
Welcome friends! I'm so glad you stopped by today. This is Amanda from Twiddler's Nook sharing an adorable card featuring new products from Mama Elephant and Pretty Pink Posh. They work so perfect together, I just couldn't resist!

Mama Elephant Boxed Drinks and Pretty Pink Posh Citrus

I started by card by stamping images from Mama Elephant Boxed Drinks and Pretty Pink Posh Citrus. I colored everything with my copic markers and used the coordinating dies to cut them out. The juice box die automatically cuts the center for a shaker but I didn't want to do that today so I just used washi tape to hold it back in place until I added my foam squares to the back later on.

Mama Elephant Boxed Drinks and Pretty Pink Posh Citrus

For my background, I inked up a white panel with the Pretty Pink Posh Citrus layering stencil. I used Lawn Fawn carrot and peach fuzz dye inks with blending brushes. Then I added a layer of iridescent glitz gel over the layer with juice drops for some sparkle. Once that was dry I trimmed the panel to 4x5.25 inches and popped it up on a green note card that matched my juice box.

Mama Elephant Boxed Drinks and Pretty Pink Posh Citrus

I added the images with a combination of liquid glue and foam squares to the lower portion of my card. Next, I stamped and heat embossed my sentiment, trimmed it in to as trip and popped it up with foam strips as well. Last, I added black glaze pen to the puppy's eyes and nose so they shine and stand out. 

Isn't this so stinking adorable!?! I love how these sets work so fun together!

Stop by the Doodlebugs shop and pick up any of these awesome products!

I appreciate you sharing your time with me. Have a fabulous day! 

Links to products used or recommended are listed below:   


Thursday, July 13, 2023

Shaped Cards Using the Modern Ovals from Spellbinders

I love creating shaped cards or cards with an unexpected twist.  I had these watercolor floral images left from a previous project [you can view that here] and thought they'd be perfect embellishments for these shaped cards.

Spellbinders Essential Modern Ovals and Pinkfresh Studios Beautiful Blooms

Since I already had the floral images complete, the cards were super quick and easy to pull together.  I cut the ovals from the Essential Modern Ovals die set from Spellbinders.  I create the folded card by cutting two ovals and scoring the back oval across about a 1/2 down from the top.  I then add adhesive to the top portion of the card above the score line and secure them together.  There are several, great ways to create the fold for a shaped card.  This is what works best for me.

Spellbinders Essential Modern Ovals and Pinkfresh Studios Beautiful Blooms

I added a second oval (light grey) that was embossed with the Tile Reflections Embossing Folder from Spellbinders and added a small hot foiled sentiment from the Making Me Smile hot foil plate also from Spellbinders.

Quick and easy!

Thanks for stopping by!

Cathy

Links to products used or recommended are listed below:   
Tuesday, July 11, 2023

You're on my mind - Citrusly

If you've been following me for a bit you know that I love all things fruit.  I'm back with a citrus card design. Orange you glad you stopped by?

Altenew Orange Blossom die set

These are the products I'm featuring this week:

  • Altenew - Orange Blossom | die
  • Altenew - Elegant Sayings | stamp
  • Spellbinders - Essential Stylish Ovals | die
Altenew Orange Blossom die set

I'm a big fan of videos showing the layering process of dies. Altenew has one for the Orange Blossom set HERE.

Altenew Orange Blossom die set

I hope you're having an amazing week!

Links to products used or recommended are listed below:  

Monday, July 10, 2023

Mini Note Card with Pretty Pink Posh, Spellbinders and Mama Elephant

 Hi everyone! This is Amanda from Twiddler's Nook. Today I'm sharing a mini note card featuring dies from Pretty Pink Posh, stamps from Mama Elephant and embossing folder and stamps from Spellbinders. This little card was so fun to create and I think they're going to be a little addictive. They will be so fun to pop in lunch boxes or leave places for my family.

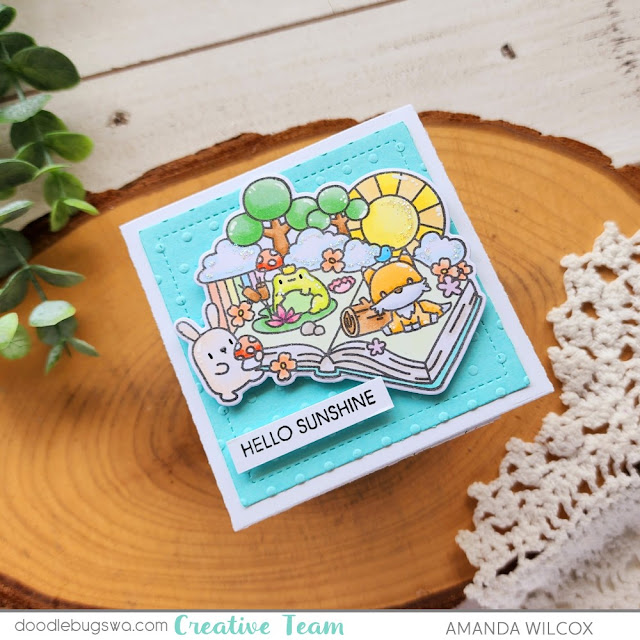
Create a mini note card using the Sweet Note die from Pretty Pink Posh and embellish with the Mama Elephant Storytime stamp and die

I really wanted to color this adorable image from Mama Elephant Storytime stamps, so that's where I started...with no other plan in place. Sometimes this is the most therapeutic craft sessions. No pressure, just do something you want and if it turns into a completed project, cool. If not, you got to relax and color.

Create a mini note card using the Sweet Note die from Pretty Pink Posh and embellish with the Mama Elephant Storytime stamp and die

However, after I die cut this adorable image, it struck me that it might fit the Pretty Pink Posh Sweet Note card. And it did, perfectly! So I cut the base from white cardstock and the stitched square from teal. Then I added some texture to the square using the Spellbinders Tiny Dots embossing folder. The embossed panel is glued to the card with liquid glue and the image is popped up with foam squares.

Create a mini note card using the Sweet Note die from Pretty Pink Posh and embellish with the Mama Elephant Storytime stamp and die

Then I found this perfect sentiment in the Spellbinders I've Got You Covered stamp set. After I stamped it, I just trimmed it into a strip and added it with a foam strip. For finishing touches I added some white gel pen highlights, black glaze pen to open eyes and stardust Stickles to the clouds and sun. Last, I did put little dots of glossy accents on noses and the frog's crown.

Do you give little notes to your family members? I can't be the only one. Lol!

I appreciate you sharing your time with me.
Have a fabulous day!

Links to products used or recommended are listed below: