Pages

Pages

Friday, September 30, 2022

Quick and cozy Christmas cards!

Hello, Doodlebugs friends!  Michele here and I 
have a quick-and-easy Christmas card design to share with you today!
TOO EARLY for Christmas??  Not on your life!
I share hundreds with my friends at Bringing Smiles to Seniors each year!
Truth of the matter is I'm WAY behind!  Let's go...


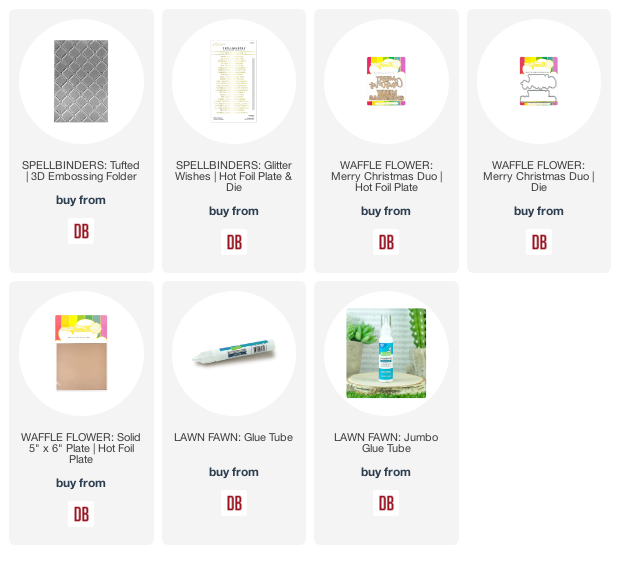
I've used this gorgeous new Spellbinders Tufted embossing folder that embosses a half-sheet of card stock at once!  You do realize that's TWO card fronts at once, right?  What a time saver!

Speaking of time savers, I added this fabulous hot foil set to
my Christmas shopping basket at Doodlebugs!  It takes a minute [or twelve] to set up the die, but once they are foiled this clever little die [yes, it does come with] cuts the one you want to use just perfectly!


Don't forget to foil the negative, too! Just use one of these
solid plates, and heat it just a bit longer than normally for 
the best results.


There are 30 sentiments in this set - I found a few that sounded cuddly
for my tufted embossed pieces!


They coordinate so well with these Waffle Flower Crafts Merry Christmas
hot foil plate and die duo!


I found this piece of cardstock in my stash - sure wish I knew who made it!
Isn't it the prettiest 'satin-y' finish?

For an elevated elegant look, I used a gold foil from Michael's next...
but how gorgeous would they be in Lawn Fawn's gold and silver foil?


I cut this one down a bit to allow for a perfect white border.

I hope I've given you an idea for quick-and-easy card designs for Christmas!  See you again soon!
=] Michele

Links to products used or recommended are listed below: 

Thursday, September 29, 2022

2022 National Coffee Day Blog Hop


Happy Thursday coffee lovers!!  We're super excited to be participating again in this year's National Coffee Day Blog Hop.  

Here are the details:

The hop starts HERE.   Links can also be found below and at the end of this post for each of the participants.

Doodlebugs (You're here)

We are giving away a $25 Gift Code prize here, but there are lots of other prize opportunities and inspiration from additional participants.  Please leave us a comment on this blog post to be eligible for our prize.  We will randomly select a winner from the comments on October 3rd and they will receive a $25 GIFT CERTIFICATE. (please note: we are sorry, but we cannot ship internationally - the giveaway is only open to US shipping).

Be sure to check our winner's post on October 7th for the winner's name and the details for collecting your prize.

We are also offering a great sale to celebrate National Coffee Day.  You'll save 20% on any purchase over $50 through Monday, October 3rd.  The discount cannot be used with any other discounts or promotion.  See details below:


 Now that we have all the details out of the way, it's time for some coffee inspired projects.  I chose to create some coffee inspired holiday projects.  Coffee gift card enclosures to be exact. 

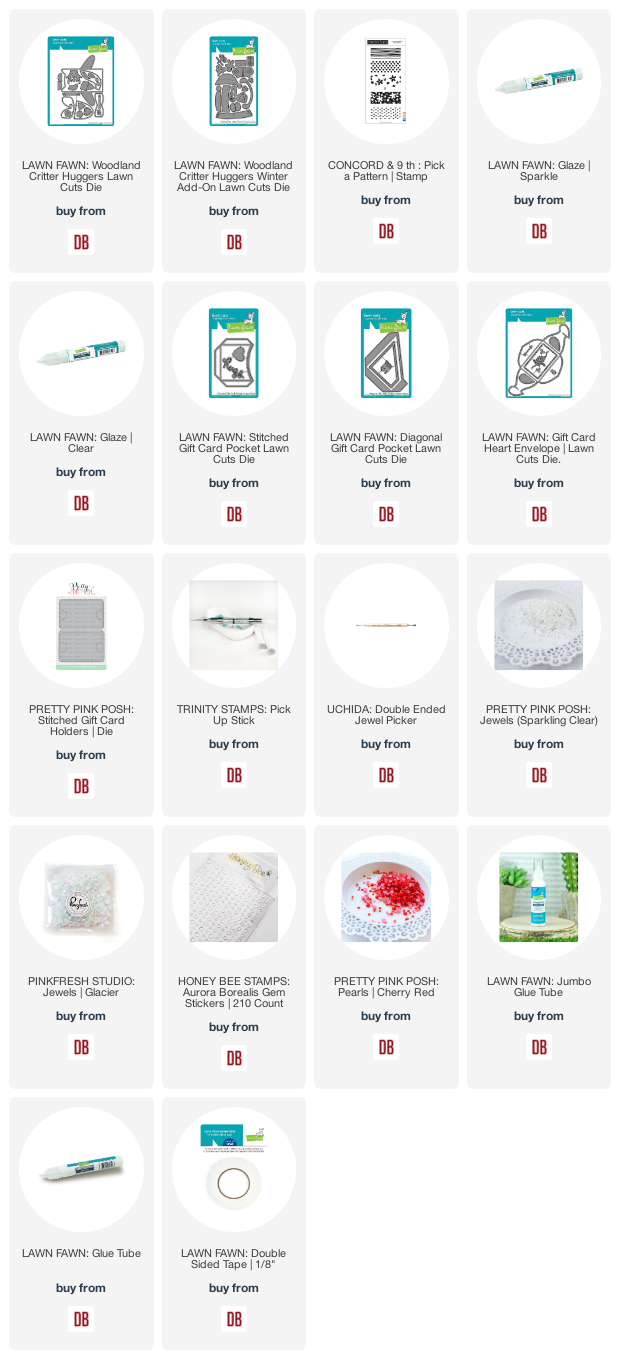
I used the Woodland Critter Huggers and the Woodland Critter Huggers Winter Add-on  from Lawn Fawn to cut all the pieces to assemble these cuties.

I added some pattern to the scarfs using the Pick a Pattern stamp from Concord & 9th.  This a great stamp for adding pattern to small dies cuts! I stuck with a tone on tone color using a slightly darker ink than the cardstock.


I further embellished them with some gems and pearls.  Then added a bit of shimmer using the Sparkle Glaze and Clear Glaze from Lawn Fawn.

Lastly, I added a gift card pocket to the back for my coffee gift cards.  There are loads of different options to choose from.  I used the Stitched Gift Pocket.  

Links to products used or recommended are listed below: 
You are invited to the Inlinkz link party!

Click here to enter

Wednesday, September 28, 2022

Sunflower and Apples with Lawn Fawn...

Hello everyone, happy Wednesday. I am sharing this card using the beautiful new Magic Iris Sunflower Add-on from Lawn Fawn. 


I began by die cutting the base of the card using the Basic Rectangles Creative die set. I then die-cut the layers to create the sunflower using the Magic Iris Sunflower Add-on die set. Next, I die-cut the layers to create the basket of apples and apples using the Build-a-Barrel die set. I also die-cut leaves to add to the card using the leaves from the Backdrop Fall Leaves die set and from the Magic Iris Fall Leaves Add-on die-set.


I added color to the base layer using Prize Ribbon, Blueprint Sketch and Chipped Sapphire Distress Oxide Inks. For the yellow areas, I used Mustard Seed, Wild Honey, and Fossilized Amber. For the green areas, I used Rustic Wilderness and Noble Fir inks.  


I then heat embossed the sentiment onto the base of the card using the Scripty Autumn Sentiments stamp set. I then added the scalloped frame from the Framed Tags Madison Avenue die set and added the sunflower, leaves, and apples. 


I hope you enjoy the card I created to share with you today. Thank you so much for taking the time to stop by. I hope you each have a wonderful and blessed day. Please feel welcome to visit me on my blogIG or Pinterest.

Links to products used or recommended are listed below: 

Monday, September 26, 2022

Non-Traditional Folk Thanksgiving Card


Hi, everyone!  Toni here with you today sharing a watercolored and hot foiled Thanksgiving card.


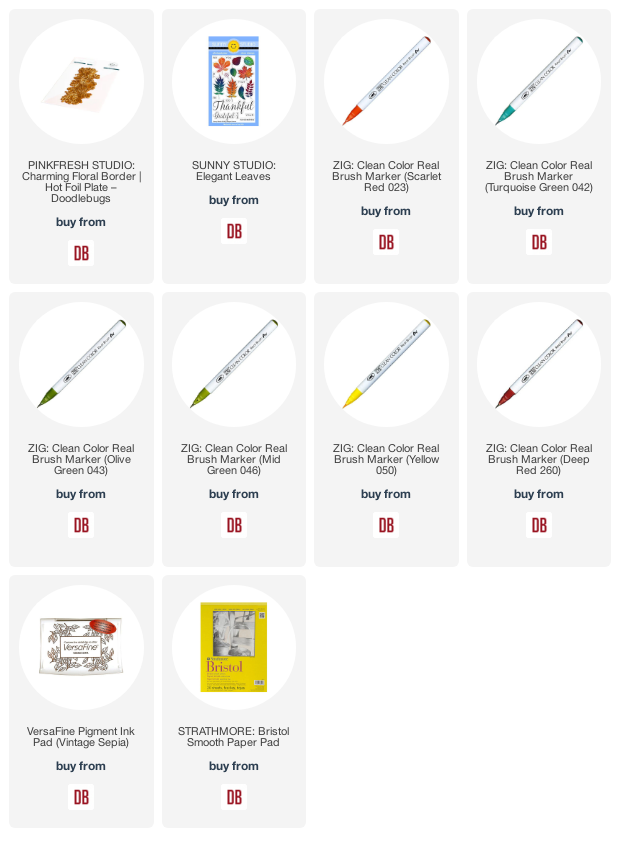
I started the card by using the Pinkfresh Studio Charming Floral Border hot foil plate with gold hot foil.  I was so excited that I actually got it straight the first time around!  That blue washi tape is my very good friend--LOL.


Next I loosely watercolored with image with Zigs.  It has a bit of a vintaged embroidered feel to it, don't you think?

I used my go-to autumn set, Sunny Studio Elegant Leaves, for the sentiment, stamping it with Versafine Vintage Sepia.  It was a happy coincidence that it nestled so beautifully with the Pinkfresh Studio Charming Floral Border.


I'll see you again soon.  If you'd like to check out my other creations in the meantime, you can visit my blog, Frankie Helps Craft, my Instagram, or my Pinterest Board.  Have a great rest of your day!

PRODUCTS USED AND/OR RECOMMENDED

Friday, September 23, 2022

Are you impressed by 3D embossing?

Hi, Doodlebugs friends!  Michele here with my newest addition to my ever-growing stash of embossing folders!!  Do you love them as much as I do?  [Not even sure if that's possible!]  Today, I'm adding color to those gorgeous, raised patterns even though most of the time I'm just as happy with their glorious detail as is!

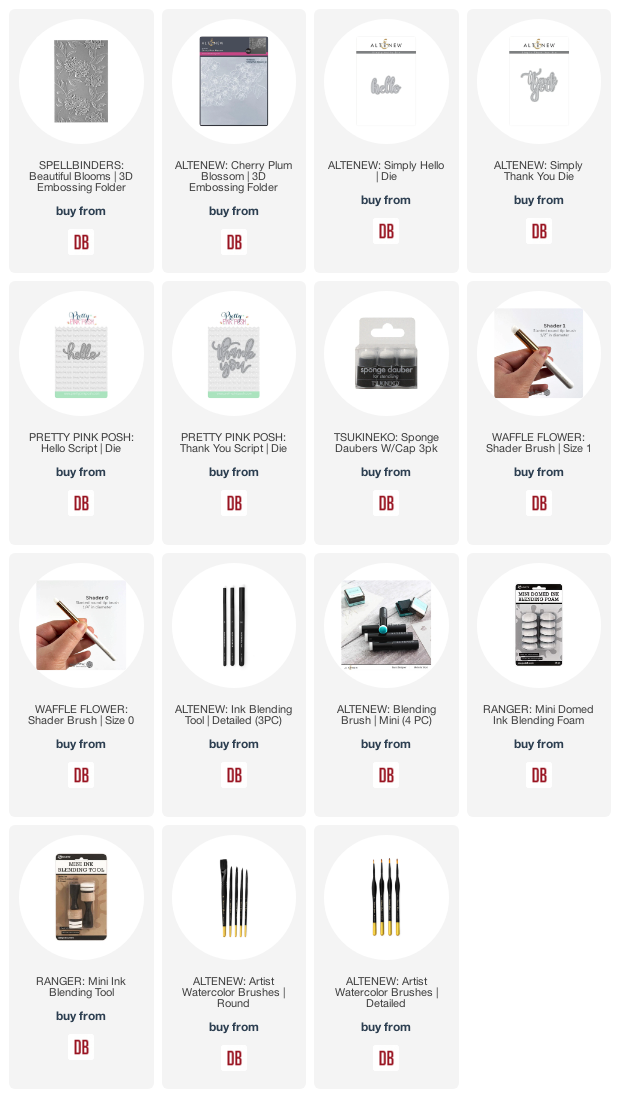
Spellbinder's 3D Beautiful Blooms is a large folder that embosses a half sheet of cardstock at once!  You know what that means?  TWO card fronts at once!  I colored these blooms in fall colors today and got those little finger daubers out again, using a very soft touch, trying very hard to ink just the raised images.  I love Distress Oxides for this treatment - love their 'creaminess' and know that I'll be able to 'clean up' if I get a little overzealous with my daubing!


After all the colors were added, I press my daubers onto my glass mat to pick up with
a wet paint brush to add a light wash of color to the background and to add a bit of splatter:


My sentiment is from Altenew - even though this one isn't found in our
Doodlebugs shop there are 11 pages of die-cut sentiments - I think you'll find
just the right one for your embossed card!  Perhaps a thanks? 


Here is another tool that is great for getting into those tiny floral centers!
Waffle Flower's Shader Brush worked its charm on these sweet 


I have found the original Distress Inks perfect for really water-y background painting as
they are less likely to oxidize [change color] when adding water and drying.

That's it for me today!  Hope I've given you a little idea for what to do in YOUR craft room this weekend!
=] Michele

Links to products used or recommended are listed below: 
Sentiment Dies

Wednesday, September 21, 2022

Happy Fall with Lawn Fawn...


Hello and happy Wednesday everyone. I am sharing this CAS Autumn-themed card today. I used the lovely new Giant Happy Fall die from Lawn Fawn. 


I began by die cutting the base panel for the card using the largest stitched rectangle from the Basic Rectangles die set. I then added color to the panel using Peacock and Rainforest Lawn Fawn ink. I then used the Fall Leaves Backdrop die to die cut the leafy border layer for the card from yellow cardstock. I added a bit of color to it using Fossilized Amber, Wild Honey, and Rusty Hinge Distress Oxide inks. 


I then colored the little fox along with the sweater from the Ugly and Bright stamp set. I added the acorn from the Let's Go Nuts stamp set onto the sweater. I used Copic markers to color the images. 

Yellow: Y11, Y08, YR23, YR24, 

Fox: YR21,YR23, YR24, YR27, E18

Brown: E41, E31, E55, E84, E87

Next, I used the oval die from the Giant Birthday Messages coordinating die along with the scalloped oval die to create the base for the Giant Holiday Messages coordinating die. I then used the Fancy Wavy Banners die set to die-cut the banner for the sentiment from the Dainty Calla Lily stamp set. 

I hope you enjoy the card I created to share with you today. Thank you so much for taking the time to stop by. I hope you each have a wonderful and blessed day. Please feel welcome to visit me on my blogIG or Pinterest.

Links to products used or recommended are listed below: 


Tuesday, September 20, 2022

Modifying Concord & 9th Interactive Dies


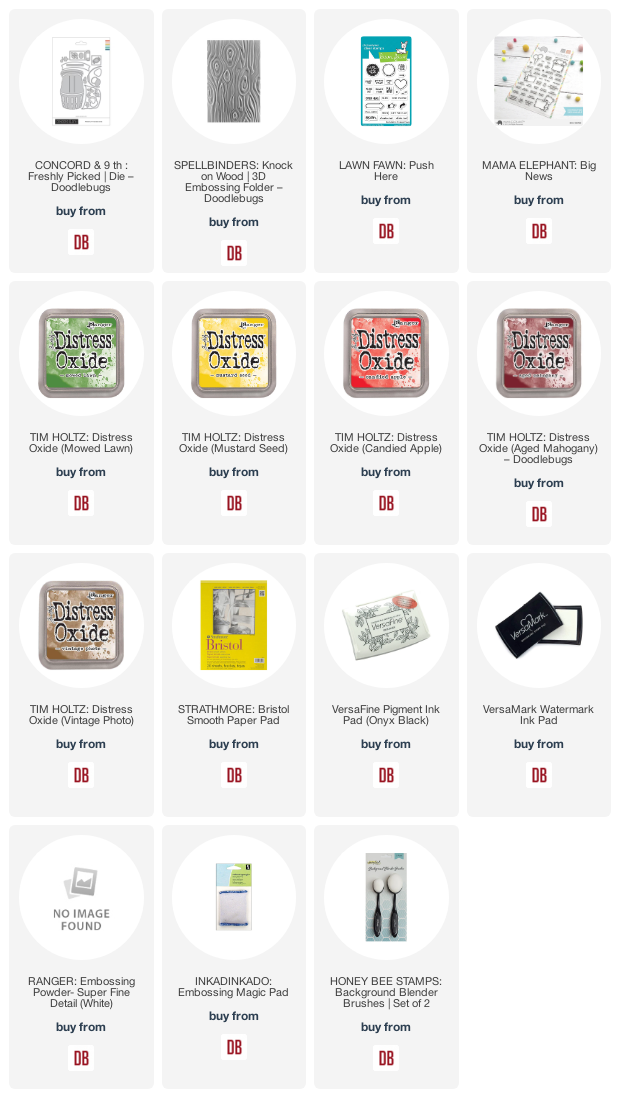
Hi, everyone!  Toni here with you today sharing a bonus card just because.  I hadn't intended to make a card last night but I was playing around with the Concord and 9th Freshly Picked interactive dies which were so easy to use I was able to finish the card and even gave it a twist.


I noticed while watching the C9 video that they had used liquid glue to adhere the basket top and interactive bottom part together.  BUT, what if I used foam tape?  Couldn't I fit in a cut out sentiment rather than stamping directly onto the pull tab?

That's a heck yeah!  The die makes it a no brainer to figure out where to put the foam tape (or liquid glue for that matter).  I added foam tape to the back as well to lift up the basket and apples from the card front so the recipient would find it easier to pull.


Isn't that nifty?!  I used the sign included in the Freshly Picked set with Mama Elephant Big News and Lawn Fawn Push Here to direct the recipient to pull that apple (or something until they figure it out--LOL).

I also want to point out that I used the new Spellbinders Knock on Wood 3D embossing folder for the background. I love the oversized texture.


I'll see you again soon.  If you'd like to check out my other creations in the meantime, you can visit my blog, Frankie Helps Craft, my Instagram, or my Pinterest Board.  Have a great rest of your day!

PRODUCTS USED AND/OR RECOMMENDED

Monday, September 19, 2022

Creating a Layered Halloween Scene


Hi, everyone!  Toni here with you today sharing a super cute friendship card with a Halloween twist.  I know exactly who I'm sending this one to--she's a hard core lover of all things fall.


I set the scene by sponging Distress Oxide Twisted Citron on the lower portion of the card front and covering the upper 2/3 with MFT Party Time 6x6 Paper.  The  Lawn Fawn Purrfectly Wicked  sentiment is the perfect floor/divider.


I had originally planned on there being a kitty in the lower 1/3 along with the Lawn Fawn Purrfectly Wicked Add-on "purrfect" part of the sentiment but just wasn't feeling it so moved it to the inside. Winner!


I colored up the remaining Lawn Fawn Purrfectly Wicked and Purrfectly Wicked Add-on images.  I also used pumpkins from Mama Elephant Hey Pumpkin and Sunny Studio Harvest Mice.


But the best thing I added was Sunny Studio Finstastic Friends seaweed colored up as flames. Clever way to stretch those supplies, aye?  I added a few of the bubbles from that set too, coating them, the cauldron contents and the flask with Clear Wink of Stella.


I'll see you again soon.  If you'd like to check out my other creations in the meantime, you can visit my blog, Frankie Helps Craft, my Instagram, or my Pinterest Board.  Have a great rest of your day!

PRODUCTS USED AND/OR RECOMMENDED

Friday, September 16, 2022

Falling leaves with a curve!


Hey, my friends!  Michele here and I have a card to DIE [CUT] for today!

I know you have as many wonderful, patterned papers in your stash as I do, right?  Isn't Fall the best time of all to get those out for some really quick, fun, colorful Fall cards?

Take a looky loo at this card - not one bit of stamping!  
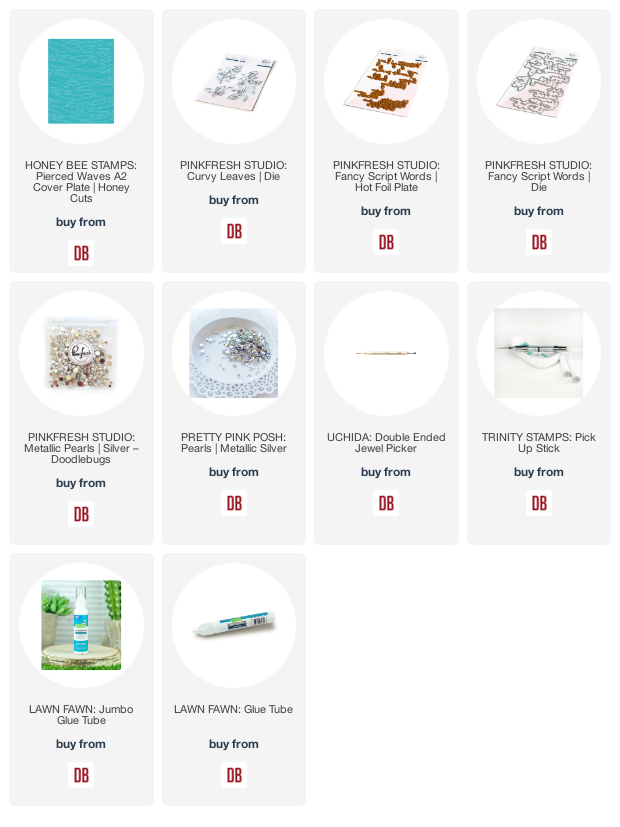
  • I started with a light grey card base, added a panel of patterned paper that had been 'pierced' with this great Honey Bee Waves Pierced A2 cover plate.
  • I cut several papers with Pinkfresh Studio's Curvy Leaves and added them to my panel.
  • When I get my Glimmer machine out, I usually make use of the time to foil and cut many of the Pinkfresh Studio Fancy Script Words - here's one in silver.


  • Perfect time to add a bit more silver to my card by way of these pretty PFS Metallic Silver pearls.  Placement made easier using this Uchida Double-ended Jewel picker

These might not be the colors of our leaves, but they sure are great in my humble opinion!  I hope you like them, too!  Of course, YOU get to choose your own colors, right?

=] Michele
 
 Links to products used or recommended are listed below: