Pages

Pages

Friday, July 30, 2021

Hello from Toni: Bonus Fairy Tale Florals


Hi, everyone! I have a couple of bonus cards for you using the Altenew Fairy Tale Florals set. I used my large 12x12 MISTI to position the various pieces for Monday's card and didn't want to waste all of that set up time.
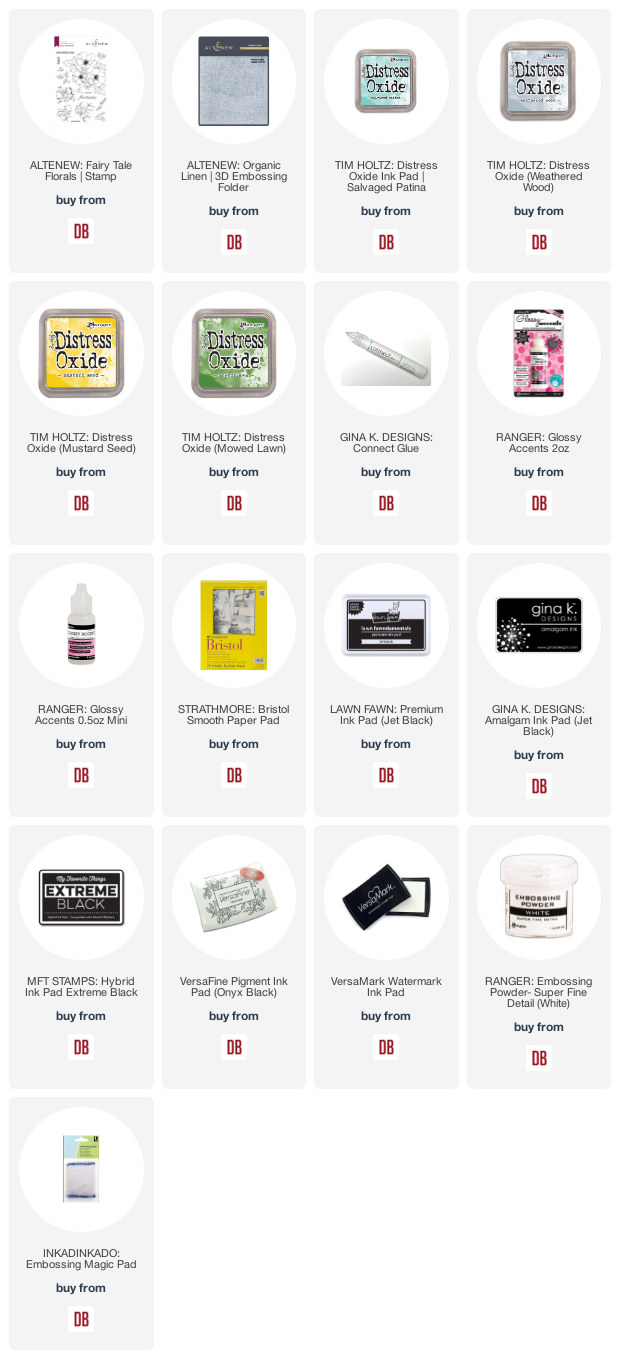

The card on the left is done in grayscale on an Altenew Organic Linen embossed panel. The card on the right is one layer.  How cool is that!

I'll see you again soon.  If you'd like to check out my other creations in the meantime, you can visit my blog, Frankie Helps Craft, my Instagram, or my Pinterest Board.  

Products Used and/or Recommended Include:

Wednesday, July 28, 2021

Giant Happy Birthday with Lawn Fawn...


Hello everyone, happy Wednesday! Mayra here with you today. I am so happy to be here. I am sharing this awesome summer-themed birthday card using the cute Toucan Do It stamp set from Lawn Fawn. 

I began by coloring all of the images using Copic markers. Along with the Toucan Do It stamp set, I also used images from the Scootin' By (birthday hat, present, and balloons), the Virtual Friends Add-On(banner), the Elphie Selfie (elephant, and cake), A Creature Was Stirring (cake stand), Unicorn Picnic (slice of cake), Ocean Shell-fie (rocks, seaweed), Really High Five (striped birthday hat), and Mermaid For You (big rock) stamp sets


For the yellow areas , I used Y11Y08, and Y19. For the minty blue, I used BG10, BG11, BG13. For the brown areas, I used E84, E55, E31, E35, and E87. For the blue areas, I used B28, B24, FB2, and B32. For the elephant, I used W7, W5, W3, C3, C1, and W0. For the yellowish tan areas, I used E50, Y21, YR21, Y32, E08, and YR24. 


Then, I then die-cut the panel for the card using the largest rectangle from the Large Slimline with Sliders die set. I die cut it three times using Bristol Smooth Cardstock, and once from kraft cardstock. I then used the smaller of the rectangles from the set to create a frame for the base panel. I then die cut the layers to create the ground and the water areas using the Slimline Simple Stitched Hillside Border and the Slimline Stitched Hillside Border dies. Then, I die cut three layers using the Tropical Leaves Border die from different colored green cardstock. Next, I added color to the die cut layers using Lawn Fawn and Distress Inks. 


Then, I heat embossed the sentiment from the Giant Birthday Messages stamp set onto the coordinating die cut oval die. 

I hope you enjoy the card I created to share with you today. Thank you very much for taking the time to stop by. I hope you each have a wonderful and blessed day. Please feel welcome to visit me on my blogIG or Pinterest

 Links to products used or recommended are listed below:


Monday, July 26, 2021

Hello from Toni: Altenew Fairy Tale Florals


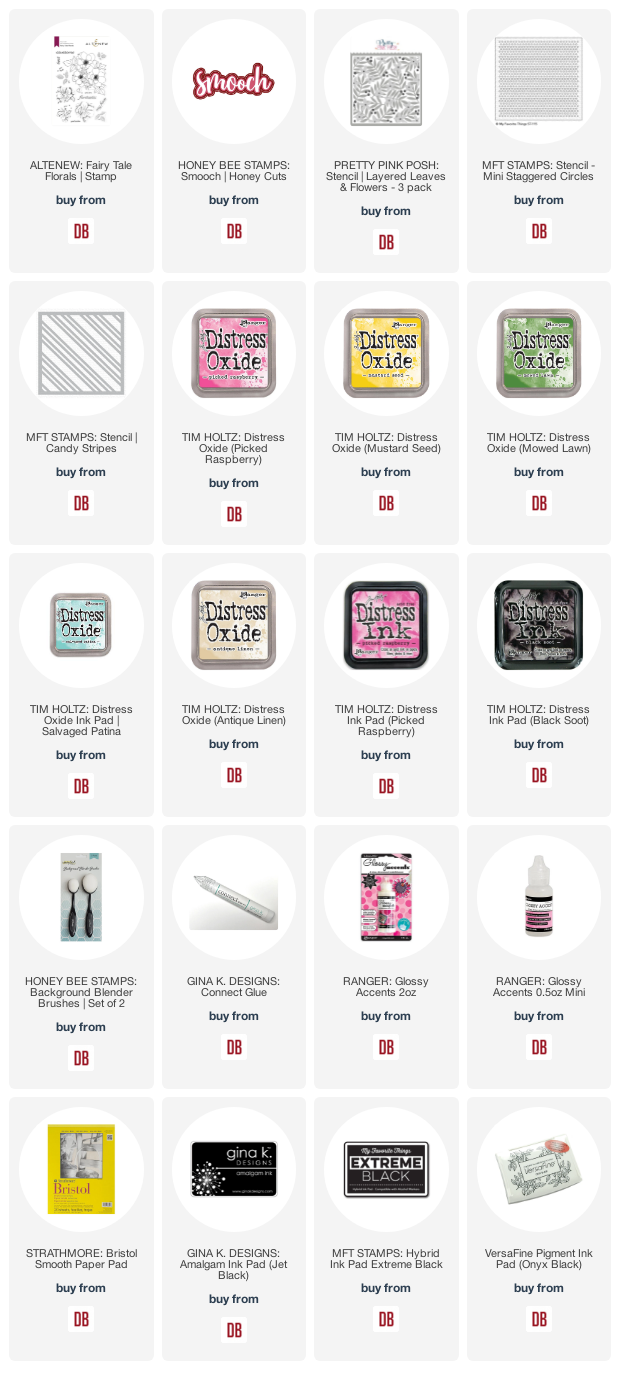
Hello, everyone!  Thanks for visiting. I hope you enjoy today's card featuring the Altenew Fairy Tale Florals stamps and a variety of stencils.


I stamped up the Altenew Fairy Tale Florals first thing, using Distress Oxide Picked Raspberry, Mustard Seed and Mowed Lawn. I cut it out using my Scan 'n' Cut.

I wanted the background to evoke a calming feeling so I used Distress Oxide Salvaged Patina with the MFT Candy Stripe Stencil.  I overlaid that with a bit of sponged Distress Oxide Antique Linen.


I added some dots using Distress Ink Picked Raspberry with the MFT Mini Staggered Circles Stencil. The last stenciled layer was the Pretty Pink Posh Layered Leaves and Flowers Stencil.  I brushed a thin layer of Liquitex gesso over the top to soften the overall look.  Swoon!

I finished the card by spattering some Distress Ink Black Soot, adhering the floral image down, and adding the Honey Bee Smooch Die with one of the Altenew Fairy Tale Florals sentiments beneath.


I'll see you again soon.  If you'd like to check out my other creations in the meantime, you can visit my blog, Frankie Helps Craft, my Instagram, or my Pinterest Board.  

Products Used and/or Recommended Include:

Wednesday, July 21, 2021

Sending Sunshine with Avery Elle Stamps...

Hello everyone, happy Wednesday! Mayra here with you today. I am so happy to be here. I am sharing this sweet summer-themed card using the very cute Island Time stamp set from Avery Elle. I adore this set so much!!! 


I began by coloring all of the images using Copic markers. The sun image is from the cute Flamazing stamp set. For the yellow, I used Y11Y08, Y19, and YR24. For the minty blue, I used BG10, BG11, BG49BG13B0000 and BG23. For the brown areas, I used E41, E81, E84, E55, E31E41, and E87. 


I then die-cut the panel for the card using the largest rectangle from the Wonky Stitches Elle-ments die set. Next, I die cut it once again from patterned paper. On the white die cut panel I used the smaller of the rectangles from the set to die cut a window creating a frame. 


Then, I stamped the sentiment from the Island Time stamp set onto the banner from the Wonky Stitches Elle-ments die set. I used the super cute Hooray Elle-ments die to go with the sentiment. 

I hope you enjoy the card I created to share with you today. Thank you very much for taking the time to stop by. I hope you each have a wonderful and blessed day. Please feel welcome to visit me on my blogIG or Pinterest

Links to products used or recommended are listed below:
Monday, July 19, 2021

Hello from Toni: Pinkfresh Butterflies


Howdy, everyone. Thanks for stopping by . . . I mean, fluttering by. LOL.

Today I'm showcasing the Pinkfresh Studio Butterflies and Pinkfresh Studio Butterflies Layered Stencils.  As you can see from the lone butterfly below, the stencils, stamps and dies can be used in conjunction. Love it!!!


For the first card I sponged the large butterfly from Pinkfresh Studio Butterflies Layered Stencil using Distress Oxide Vintage Patina, Picked Raspberry, Mustard Seed, Spun Sugar and Distress Ink Black Soot.

I don't recall if I've mentioned this before but when I want a more intense color like with the black here, I use the Distress regular ink rather than the Oxide ink.


I added lots of detail with a Posca White Paint Pen, my fave, as well as sequins, gold washi and gold embossing powder. Dreamy, I know.


For the second card I stamped and embossed the Pinkfresh Studio Butterflies, watercoloring it with Zigs.

I had intended for it to be one layer but it seemed soooo plain compared to the other card so I cut the butterfly out, mounted the front panel on black and lifted the wing with foam tape (just a tiny piece near the base as bending the wing made it pop up quite well). 


I'll see you again soon.  If you'd like to check out my other creations in the meantime, you can visit my blog, Frankie Helps Craft, my Instagram, or my Pinterest Board.  

Have a great rest of your day!

Products Used and/or Recommended Include:
Friday, July 16, 2021

Hello from Toni: Bonus Waffle Flower Slimline Trees


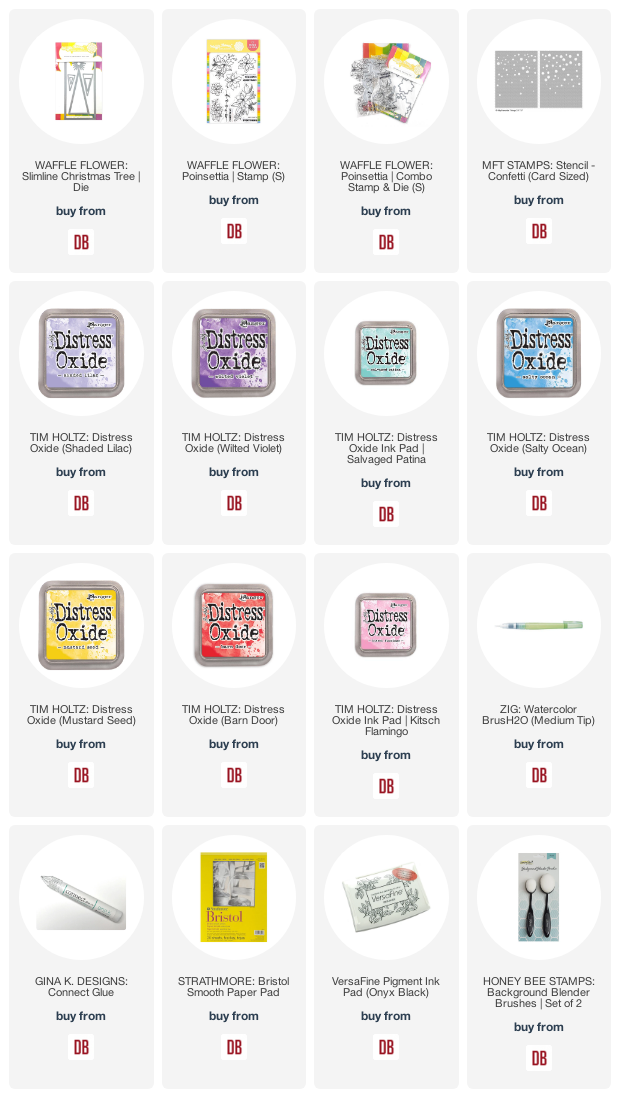
I used the Waffle Flower Slimline Christmas Tree Die on an upcoming DT project recently and used the leftovers to make this.  Super easy and fun!


Each tree is ombre sponged then spattered with water.  I used Distress Oxide Kitsch Flamingo, Barn Door, Mustard Seed, Salty Ocean, Salvaged Patina, Wilted Violet, and Shaded Lilac.  I used the same colors on the background MFT Confetti Stencil standing in for snowflakes.

The sentiment is from last year's Waffle Flower Poinsettia set. Love that font combo. FYI I noticed it's on clearance in the shop!


I'll see you again on Monday.  If you'd like to check out my other creations in the meantime, you can visit my blog, Frankie Helps Craft, my Instagram, or my Pinterest Board.  

Products Used and/or Recommended:

Wednesday, July 14, 2021

Have A Relaxing Birthday with Lawn Fawn...

Hello everyone, happy Wednesday! Mayra here with you today. Yay!! I am so happy to be here. I am sharing this summer-themed card using some dies from Lawn Fawn


I began by die cutting the layers to create the beach house, I used the Stitched Rectangles dies set to create the base layer of the house, and the frame for the card base, the windows, door, roof, and grass are from the Scalloped Treat Box Beach House Add-On die set, the waves, and sand are from the Slimline Stitched Hillside Border die set. For the background, I used the Backdrop Sunburst die


I then added color to the die cut layers. I used Merman and Minty Fresh for the water. Gathered Twigs, Brushed Corduroy Distress Ink, and Pizza Crust Lawn Fawn Ink. I also added a bit of Sunflower, and No. 2 Pencil to the base panel. Then, I heat embossed the sentiment onto the panel. The sentiment is from the On The Beach stamp set. 

I hope you enjoy the card I created to share with you today. Thank you very much for taking the time to stop by. I hope you each have a wonderful and blessed day. Please feel welcome to visit me on my blogIG or Pinterest

Links to products used or recommended are listed below:

Monday, July 12, 2021

Hello from Toni: Picture Perfect Kangaroos


Hello, everyone!   I'm so glad you stopped by to see what's hoppin' on the blog. ;-p


Today I thought I would mix up the new with the old by using the Mama Elephant Little Kangaroo Agenda set with the Mama Elephant Little Agenda Frames. I hadn't used the latter in forever. What the heck? They're so flippin' cute!

I stamped, embossed and sponged the Mama Elephant Little Agenda Frames with Distress Oxide (Salvaged Patina, Mowed Lawn, Picked Raspberry, Wilted Violet, and Mustard Seed), then cut them out using the coordinating dies. I back the frames with Lawn Fawn Hello Sunshine 6x6 paper.


I then colored up some of the Mama Elephant Little Kangaroo Agenda critters.  It was really hard choosing which ones as they're all adorable. Of course.

I stamped the Mama Elephant Mixed Wishes sentiment with Versafine Onyx Black and arranged my artwork around it. I wish arranging pictures were this simple in real life!


I'll see you again soon.  If you'd like to check out my other creations in the meantime, you can visit my blog, Frankie Helps Craft, my Instagram, or my Pinterest Board.  

See you again soon!

Products Used and/or Recommended Include:

Copics:  BG45, E11, E15, E18, R02, RV06, RV09

Friday, July 9, 2021

Hello from Toni: Bonus Pinkfresh Miss Your Smile


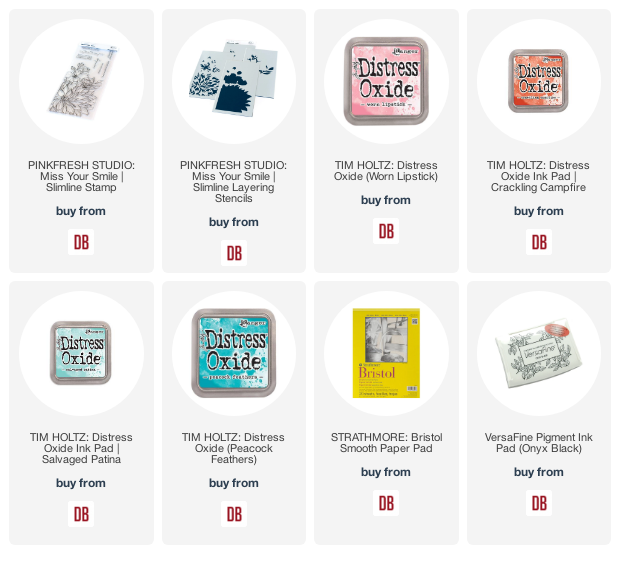
Hi, everyone!  I had need of a quick friendship card and immediately thought of the Pinkfresh Studio Miss Your Smile stamps and stencils.

I used the stencils first with Distress Oxides then used the stamp set along with Versafine Clair Twilight (a deep navy).  Easy peasy!
 

I'll see you again on Monday. If you'd like to check out my other creations in the meantime, you can visit my blog, Frankie Helps Craft, my Instagram, or my Pinterest Board.  

Products Used and/or Recommended Include:
Wednesday, July 7, 2021

Floral Congrats with Waffle Flower Stamps...

Hello everyone, happy Wednesday! Mayra here with you today. Yay!! I am so happy to be here. I am sharing this lovely floral card using the beautiful Tender Blooms stamp set from Waffle Flower. Stamps. 


I began by coloring all of the images using Copic markers. For the green areas, I used YG01, G02, G05, YG17, G14 YG67, and G28. For the different pinks, and peach colors, I used RV10, RV21, RV23, E93, E95, E97, R01, R21, and R30.


I then die-cut the panel for the card using the largest rectangle from the A2 Lacy Layers dies set. Then, I heat embossed the sentiment onto a strip of black cardstock. The sentiment is from the Classic Sentiments stamp set. 


I hope you enjoy the card I created to share with you today. Thank you very much for taking the time to stop by. I hope you each have a wonderful and blessed day. Please feel welcome to visit me on my blogIG or Pinterest

Links to products used or recommended are listed below:
 

Monday, July 5, 2021

Hello from Toni: Pinkfresh Infinite Blooms


Hello, Doodlebugs fans!  Thanks for stopping by.  Today I have a classic (aka "old school") design that just speaks to my country girl heart--I think it's the combo of the dots, the arch and the warm floral colors.


I stamped the Pinkfresh Studio Infinite Blooms image onto Copic-friendly paper then used a Lawn Fawn Slimline Simple Stitched Hillside Border die to cut away the bottom third of panel. This is called the partial die cutting technique with lots of resources out there to explore if you're not familiar with it.


I colored up the image with Copics, choosing yellows that would coordinate with the MFT Poppin' Polka Dots 6x6 paper I chose for the bottom portion of the card.


I stamped a couple of MFT Spread Your Wings butterflies and glued those on top. I love the added dimension of folding them just a touch.

I used that, washi tape, and a few enamel dots for balance and to draw the eye to that fabulous Pinkfresh Studio Infinite Blooms sentiment. 


I'll see you again soon.  If you'd like to check out my other creations in the meantime, you can visit my blog, Frankie Helps Craft, my Instagram, or my Pinterest Board.  

Products Used and/or Recommended Include: