Pages

Pages

Tuesday, July 30, 2019

Tuesday with Toni: Mama Elephant Little Panda Agenda


Hello, everyone!  Are you ready for an absolute jumble of colorful cuties? I certainly am!


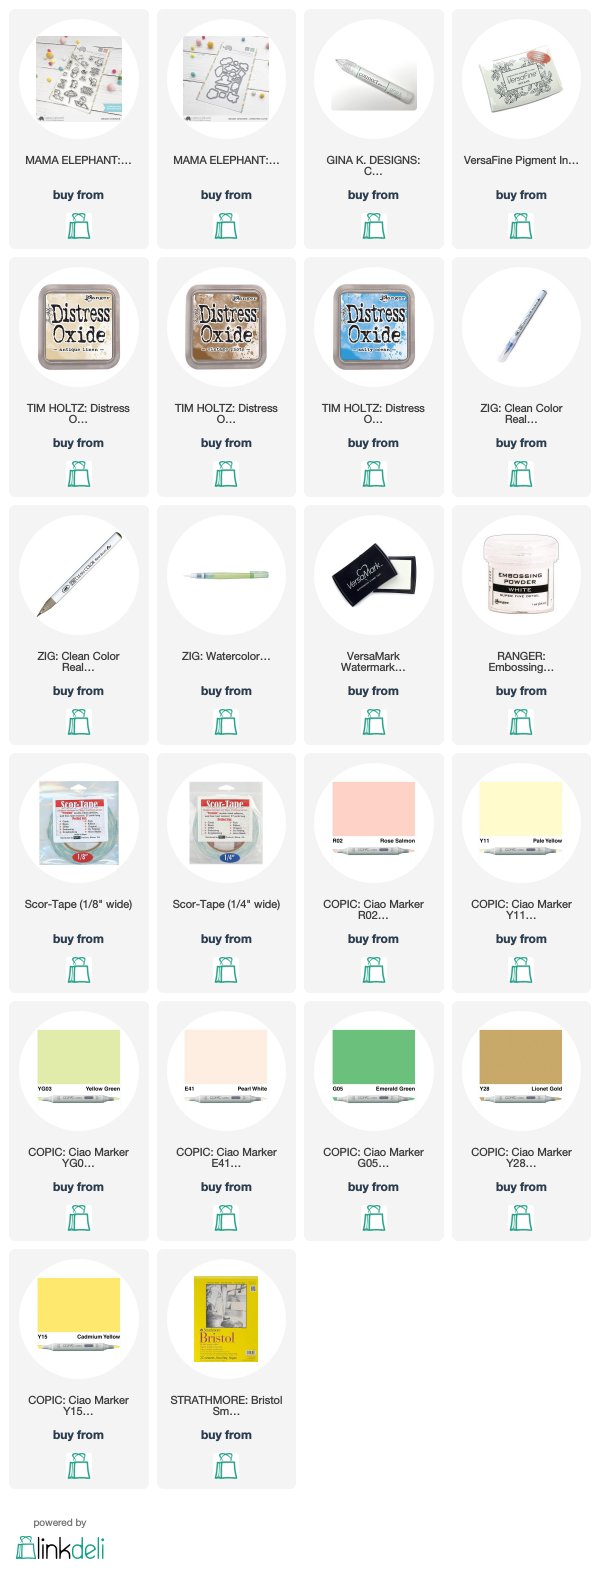
Today's card could hardly be simpler.  I stamped the Mama Elephant Little Panda Agenda images right from the plastic backing sheet onto Strathmore Bristol Smooth Paper. I used my MISTI and double-sided tape to hold it in place.

Note: I masked off the top and bottom of the card front before stamping so there would be an even white edge all around.


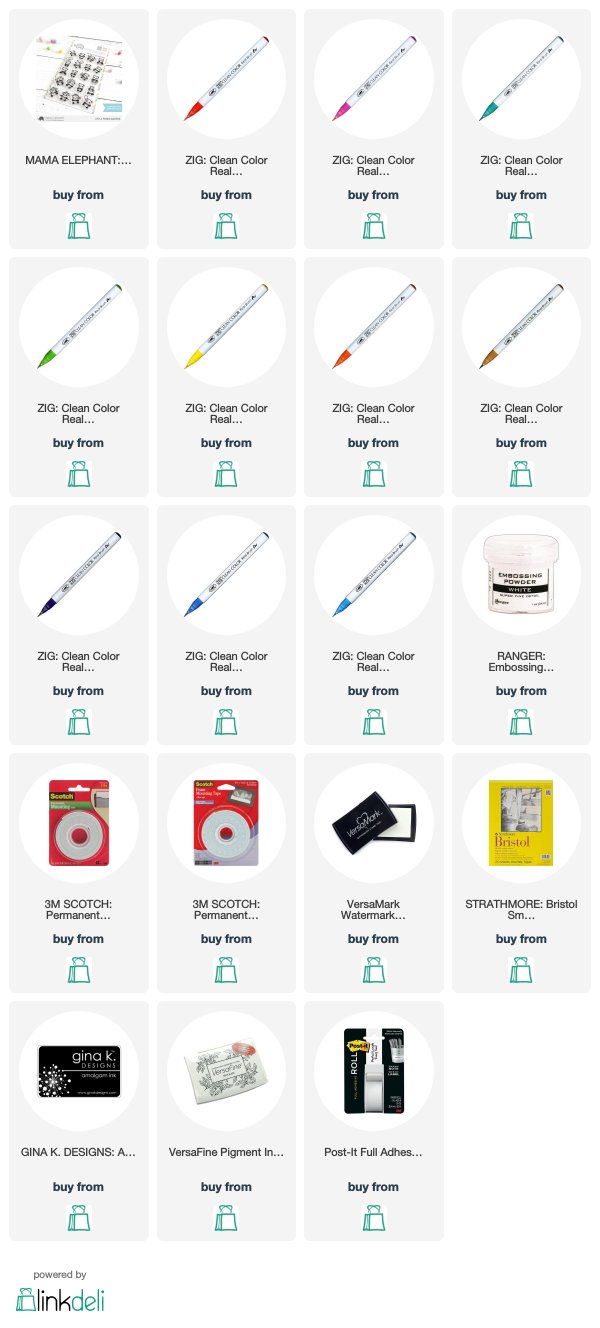
I watercolored all of those cute pandas using my brightest Zig Real Brush Pens.

I stamped the MFT Birthday Bear sentiment onto a black banner diecut using Versamark. I heat embossed it with Ranger White Super Fine Detail Embossing Powder and popped it up on the card front using Scotch Foam Tape.


If you'd like to check out my other creations, you can visit my blog, Frankie Helps Craft, my Instagram, or my Pinterest Board.  See you next week!


Links to Products Used Are Listed Below:
Friday, July 26, 2019

Friday with Amy: Avery Elle | Sound the Alarm


Hello, it's Friday and I'm back with another project.  Do you always have a nice stash of birthday cards?  It seems like when I do, then they all go out at the same time leaving me without any.  I'm trying to be better about making several a month rather than scurrying around at the last minute.

Today I'm featuring a couple cute sets by Avery Elle!


I think the Peek-A-Boo Car along with all the Peek-A-Boo sets are so much fun.  For this project I used the Peek-A-Boo Summer Pals.

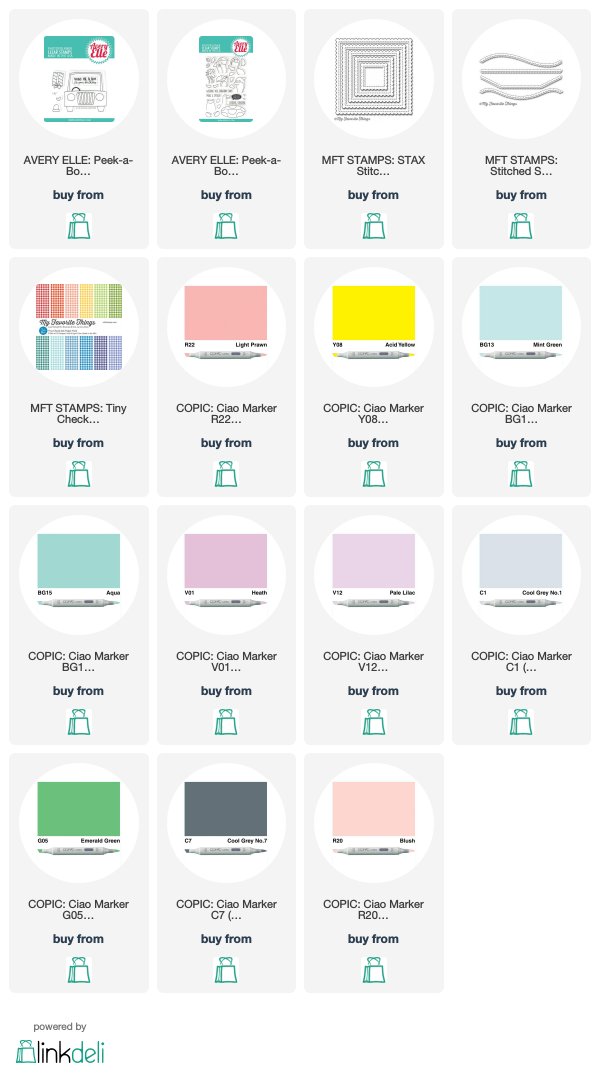
I started off with a kraft card base measuring 4.25 x 4.25.  I cut the My Favorite Things Stax Stitched Mini Scallop Square in white.  I fit a panel of My Favorite Things Tiny Check into the square using the My Favorite Things Stitched Scallop Basic Edges 2.  I wanted to leave a portion of the kraft exposed so it gives you the illusion that they are driving on the road.


I stamped the Peek-A-Boo Car onto white cardstock with black ink.  I did some quick masking and added the critters and gift into the car.  Everything has been colored with copic markers:

Car:
R21 | R22
Y04 | Y08
V01 | V12
C00 | C1
T0 | T2

Critters:
G03 | G05
C7 | C9
Y04 | Y08
R20


I love how the cute frog has both 'hands' on the wheel while almost popping a wheelie.

I hope you have a wonderfully creative weekend!

Links to supplies used can be found below: 

v

Tuesday, July 23, 2019

Tuesday with Toni: MFT Picnic Pals


What, what? Another interactive card this week? I best be careful before you start expecting that from me all the time!


With today's card I combined the MFT Slider Surprise dies with MFT SY Picnic Pals to create an adorable dimensional scene. The cuteness is killing me!


I wanted the main slider panel to be the only area with color so I masked the rest of the card base while I was adding the MFT Mini Cloud Edges and sponging Distress Oxide Twisted Citron and Mowed Lawn grass using a Ranger Mini Ink Blending Tool.

You can see too I stamped the picnic blanket on MFT Tiny Checks 6x6 Paper and colored the border in red. So picnicky!


Next I used Copics to color the MFT SY Picnic Pals images I had stamped with a Copic-friendly ink.


I added clouds and a picket fence from the MFT Spring Scene Builder die set. Notice I used clear acetate with the clouds so they would appear to float. I used Ranger Glossy Accents with the acetate and Gina K Connect Glue for everything else.


Lastly I stamped the two MFT SY Picnic Pals sentiments and Lawn Fawn Push Here phrase using Versafine Onyx Black.


If you'd like to check out my other creations, you can visit my blog, Frankie Helps Craft, my Instagram, or my Pinterest Board.  Have a great rest of your week!

Links to supplies used can be found below:

Friday, July 19, 2019

Friday with Amy: Avery Elle | Colorful


Hello and Happy Friday!  There is something about rainbows that always make me smile!


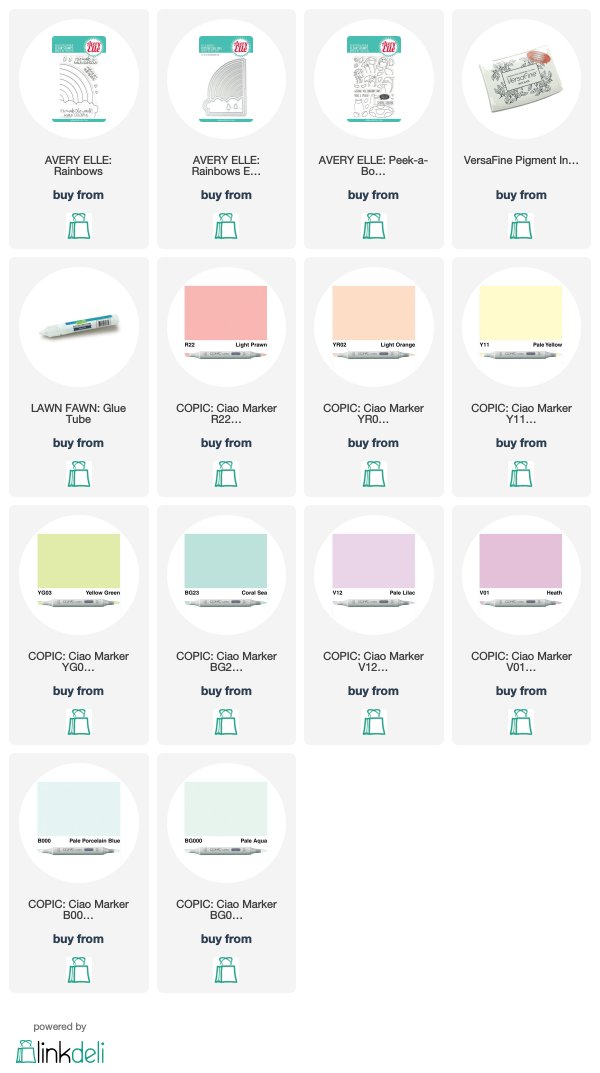
I simply adore the Avery Elle Rainbows stamp set and Elle-ments Die.  I used them both to create this shaped card.  I had a bunch of different ideas but decided on something pretty clean + crisp.  I let my copics do all the work for me.  Rather than diecutting different colored cardstock, I used my copics to color the rainbow:

R21 | R22
YR01 | YR02
Y11 | Y13
YG03 | YG25
BG11 | BG23
V01 | V12
B000 | BG000 (Cloud)


I love that sentiment and the font.  It has been stamped with Versafine Onyx.  I've been loving the Lawn Fawn Glue Tube.  I used it to adhere all the pieces in today's card.


Lately I've been having fun decorating the envelope.  I stamped the Rainbow image.  I colored it with the same copics as my card but since the envelope is much lighter weight paper, it came out much darker.  The sentiment is actually from the Avery Elle Peek-a-Boo Summer Pals set.

I hope you have an amazing weekend!

Links to supplies used can be found below:


Tuesday, July 16, 2019

Tuesday with Toni - MFT Volcano


Hello, DB fans! Today I'm featuring an interactive thank you card I plan to send to a friend of mine who made my birthday extra special a couple of weeks ago. She certainly does kick ash!


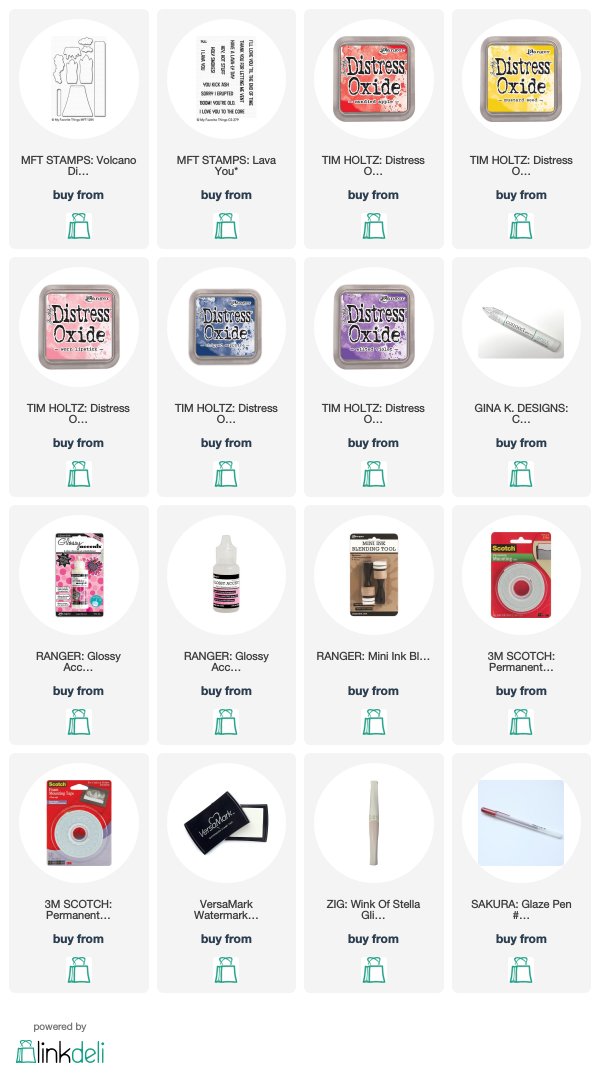
I started the card by sponging the background with Distress Oxide Candied Apple, Mustard Seed, Worn Lipstick, Chipped Sapphire, and Wilted Violet. I spattered that with water, some of the Distress Oxide Candied Apple, Copic Opaque White and added a few dots of a Sakura Gloss Real Red Glaze Pen.


Isn't that glossy red fantastic? You can see I also added some Zig Wink of Stella Clear to the lava. I was pleased how well the glitter shows up beneath the Ranger Glossy Accents.

While that was drying, I cut out the pieces of the MFT Volcano from an acrylic pour pull I had done, with my friend as a matter of fact. The flowing colors and design are perfect for the volcano.


Putting together the volcano slide mechanism was refreshingly easy. I watched the MFT video about it. Notice I used a piece of sturdy acetate for the pull tab so it wouldn't interfere with the design visually. Note if you use acetate or something similar, you'll want to stamp with a solvent-based ink.

For final steps I stamped the MFT Lava You sentiment using Versamark and Ranger Watering Can Embossing Powder. I added some MFT Volcano clouds and steam that I sponged with Distress Oxide Ink. And finally I mounted the mechanism card front onto a piece of Lawn Fawn Watercolor Wishes 6x6 Paper. Boom!


You can visit my Instagram to see the slider in action. And if you'd like to check out my other creations, you can visit my blog, Frankie Helps Craft, IG, or Pinterest Board. See you next week!

Links to supplies used can be found below:

Friday, July 12, 2019

Friday with Amy : Avery Elle | More Furry Friends

Happy Friday friends! Thanks for all the lovely comments left last week for Amy. We enjoyed reading them all. I randomly selected a winner from the comments....congrats Lauren Bergold! Please email me (Cathy) at hello@doodlebugswa.com with your address so I can drop a package of goodies in the mail for you. Thanks again everyone for the warm welcome you left for Amy!


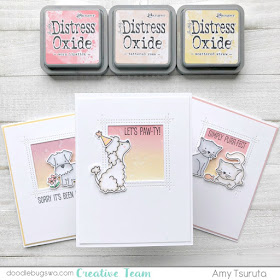
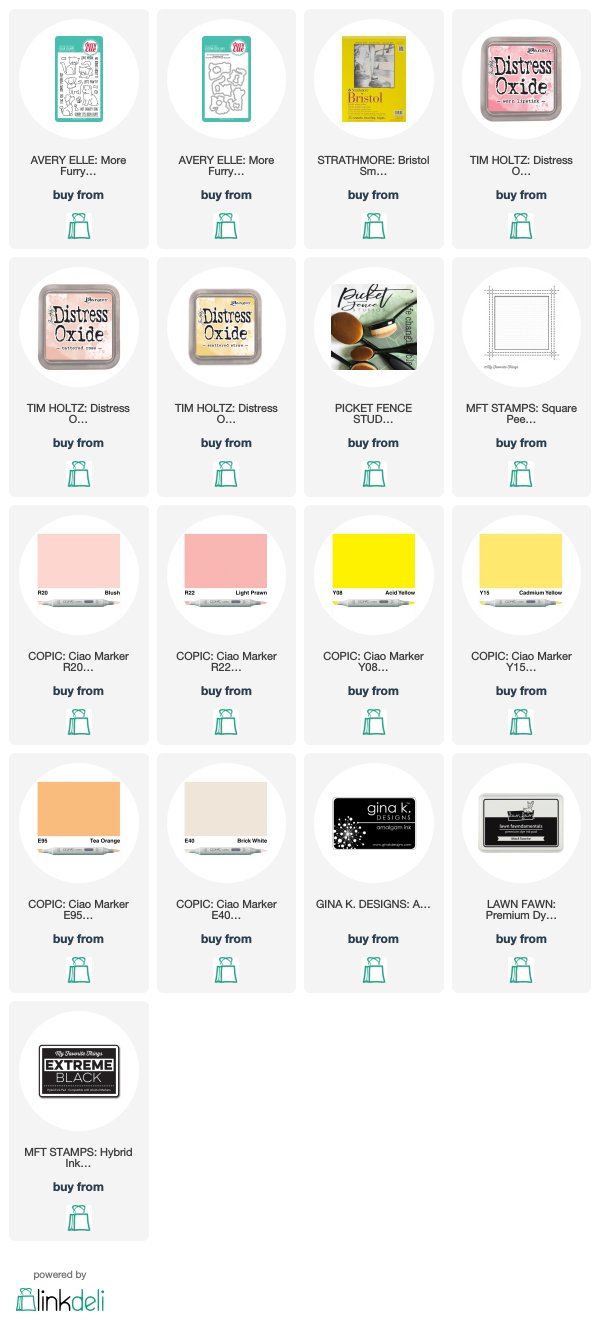
Hey, Happy Friday!  I'm back with a card trio!  Today I'm featuring Avery Elle's More Furry Friends stamp set.


I'm surrounded by pet owners and thought that this set would be perfect to whip up a couple fun designs.  I'm a big fan of replicating the same design when I tackle card sets, it makes the overall process so much easier.

I kept the same Distress Oxide background for each card:


The inks have been blended on Bristol Paper with Picket Fence Studios Blender Brushes.

My first card features a fun pup and some flowers.  


The My Favorite Things - Square Peek-A-Boo Window Die-namics frames each of the cards nicely, don't you think?

I think this poodle is my favorite, she's so festive with her party hat!


If you've been following me for any length of time you'll know that this Distress Oxide combo is my current favorite trio.

My final design highlights two of the cats.  They've been colored to match my friends adopted guys that keep her busy.


I used the following copic colors:

R20, R21, R22
YR01
Y08, Y15
E95, E40, E42
N0, N2

Thanks for stopping by and have a creative weekend!

Links to supplies used can be found below:

Tuesday, July 9, 2019

Tuesday with Toni - Mama Elephant Beach Chickies


Hello, everyone! More beach madness for you today! Twice over. Huh? I made two versions of this card and want to discuss why I prefer one over the other by a long shot.


I'm using the same images from Mama Elephant Beach Chickies for each card. In fact, I carefully peeled off the chickies from the first card to use on the second. That Gina K Connect Glue is strong stuff.


Let me show you the cards side by side. The one on the right was my first attempt. I could have lived with it were it not for the washed out sentiment. I definitely took the wrong step when I stamped the sentiment in Versamark and embossed it with Ranger Super Fine Detail White Embossing Powder.


But that's not all. Since I was going to re-do the background anyway, I went ahead and fixed the other things that didn't satisfy me. Goodbye, washed out background (I like this effect with Zigs applied with a Zig Medium Watercolor BrusH20 but not what I had in my head). I also took the opportunity to change the angle of the embossed Mama Elephant Beach Chickies water lines. Happy sigh.


I like this version so much better.  Rather than using Zigs I used Distress Oxide Antique Linen with spatters of Vintage Photo for the sand and Salty Ocean for the sky. I did use Zig 032 Persian Blue for the water.


I colored the images with Copics with summer watermelon in mind. Yum!


Finally, I stamped the sentiment with Versafine Onyx Black and adhered the card front to the base with Scor-Tape (both times!). Whew!  A card I can live with and a lesson to myself to learn from my missteps.

If you'd like to see my other creations (warts and all--LOL), visit my blog or Instagram.  Have a great rest of your week!

Links to supplies used are listed below:

Friday, July 5, 2019

Friday with Amy: Lawn Fawn | Bloop

Hello friends.  I'm super excited about this announcement!  Amy Tsuruta has joined our creative team and will be sharing a creative project with us each week.  She's super talented and you're going to love her!  To celebrate, we're hosting a giveaway!  Welcome Amy to the team in the comments below.  I'll randomly select a name from the comments on Tuesday to receive a package of goodies.  The winner will be announced on Amy's post next Friday.

If you'd like to see more of Amy's creative work, visit her blog by clicking her image shown in the right sidebar.

Welcome Amy!  We're thrilled you're here!


Hello, it's Amy and I'm thrilled to be joining the Doodlebugs Design Team!  I'm so excited to share my first project that features several Lawn Fawn products.


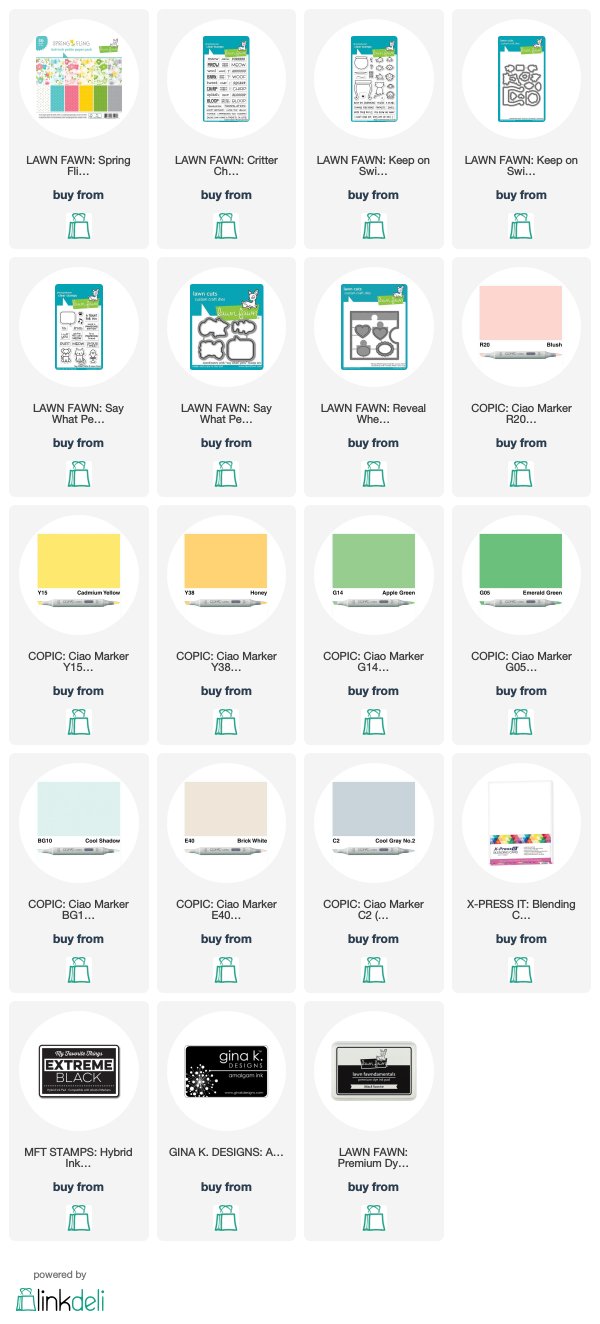
This was designed for a recent high school graduate.  I started with the Spring Fling 6x6 paper pad.  I used grey + yellow cardstock from my stash.   I always have so much fun making scenery cards.  This could have easily been a reveal wheel card but I decided to show how you utilize some of those lawn cuts in a non-interactive design.  


I have to tell you that the Critter Chatter: Pets set cracks me up.  After I finished up this card I may have been muttering 'bloop' for a smidge.  The scalloped picture frame is from the Reveal Wheel Square Add-On.


I combined the Keep on Swimming with Say What Pets.    Such a fun combo of images, don't you think?  I couldn't help adding white enamel 'bubbles' in the fish bowl.


The copics I used in today's project:

R20  |  Y15  |  Y38  |  G14  |  G05  |  BG10  |  BG11  |  E40  |  E42  |  C00  |  C2  |  C8

Thanks so much for stopping by today!  I'll be back next Friday!

Links to supplies used can be found below:

Wednesday, July 3, 2019

MFT Stamps - Friends With Fins


Happy Wednesday!

Today's card is inspired by one of Jennifer McGuire's VIDEOS.  After watching, I had to try the bridge card technique she featured.  I used some wave dies and adorable sea critters from the Fins with Friends set from MFT Stamps to create my ocean scene.  If you're interested in giving this technique a try, I encourage you to watch her VIDEO.  As always, she offers perfect directions for creating this type of card.

I broke out my Copic Markers (it's been a while) to color the dolphins and narwhal.  I've listed the colors used in the supply links at the end of this post.


I used the Picket Fence Brushes to blend Peacock Feathers, Tumbled Glass, and Cracked Pistachio Distress Oxide Inks onto Bristol Cardstock.  A few flicks of water, dabbed up with a paper towel created some added interest.  The stitched wave edges were cut with the Stitched Waves Border dies from Lawn Fawn.


I created the background with the Mini Cloud Edges stencil from MFT Stamps, Broken China and Faded Jeans Distress Oxide Inks, and the Picket Fence Blending Brushes.  I thought it was easier to stencil the background before doing any scoring.

It's really hard to see in these images, but I did use the Black Glaze Gel pen on the critters eyes, and the Clear Glaze Gel pen on the Narwhal's horn and back.  I love how this looks in person.


There's so much dimension to this style of card, and I love how it pops open once it's removed from the envelope to stand up for display.


If you haven't already, be sure to pop over to Jennifer McGuire's YouTube channel and watch her VIDEO.  She makes it easy to create these dimensional, bridge style cards.

Have a wonderful day!

Links to supplies used can be found below: