
First we die cut the ornament die from some mixed media (or you could use watercolor) paper.
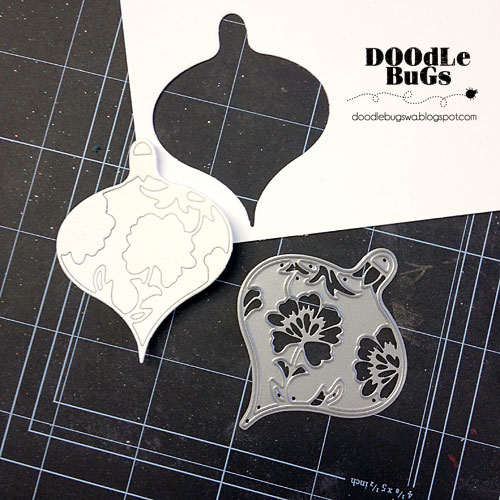
We removed all the inside pieces, keeping only the ornament shape. We ran some adhesive over a piece of scrap paper and stuck the ornament down. This holds everything in place and makes it easier to heat emboss. Cover the die cut piece with VersaMark ink, cover with silver embossing powder, then melt with your heat tool. We applied two coats (just repeat the steps above). Love how the thick layer of silver looks.
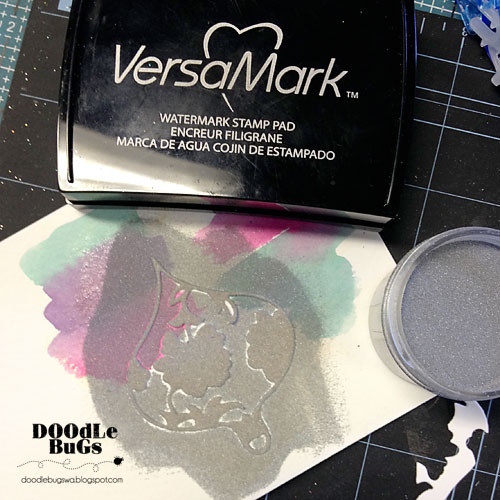
Add some Evergreen Bough Distress ink to your non-stick craft sheet. Add some water with a brush and apply to some mixed media (or watercolor) paper. Once dry, cut the ornament again from the watercolored portion of the paper.

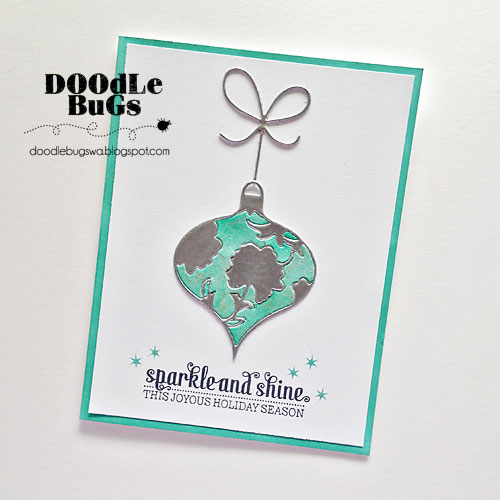
We wanted the base of the card to match the ornament exactly. So, we masked off the back of the card with some washi tape and inked the edges of the paper. We added a white cardstock mat to the top (not shown in the image), creating a 1/4" border around the edge of the card.

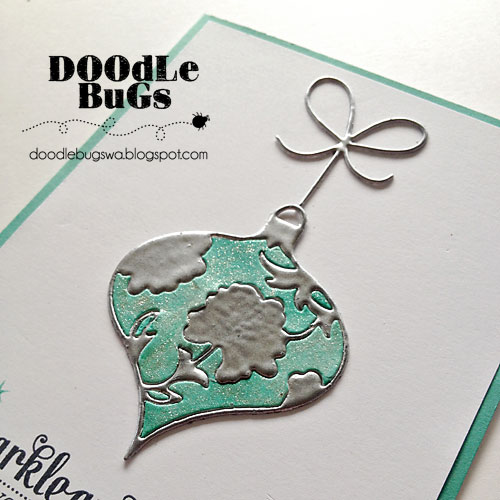
Adhere the silver portion of the die to the front of the card (the white, cardstock mat that will sit on the top of your inked card base). Then insert the die cut pieces that were cut from the watercolored paper.

Finish the card with a die cut, silver embossed bow (use the same technique we used for the ornament), a sentiment (we used one from Mama Elephant), and some Wink of Stella. The Wink of Stella was added to the watercolored portion of the ornament.
Here's another look at the finished card.
Love it!
ReplyDelete